This is Part 2 in our Permaculture 101 series, check out Part 1: The Basics and Part 3: Forest Gardens!
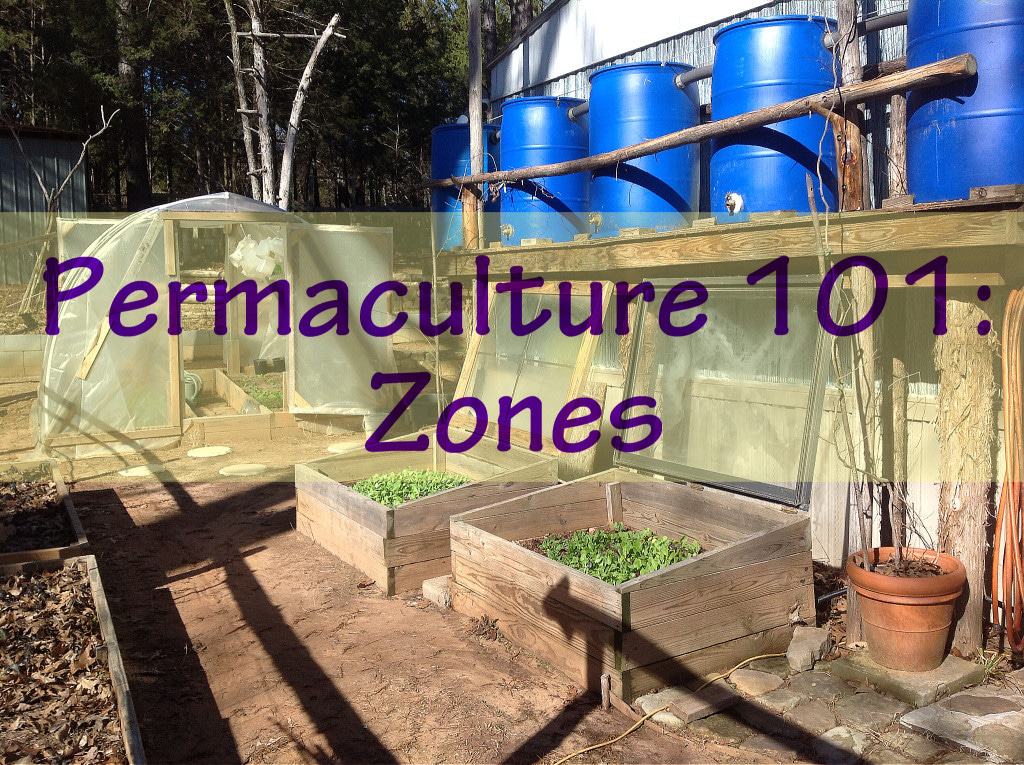
Here we are, on to the second part of our Permaculture series. This one is all about the different zones in a Permaculture landscape, and how you should try (as best as possible) to design your property around these zones. Joel has once again written up a nice little post for us to study, Permaculture Zones.
Permaculture Zones
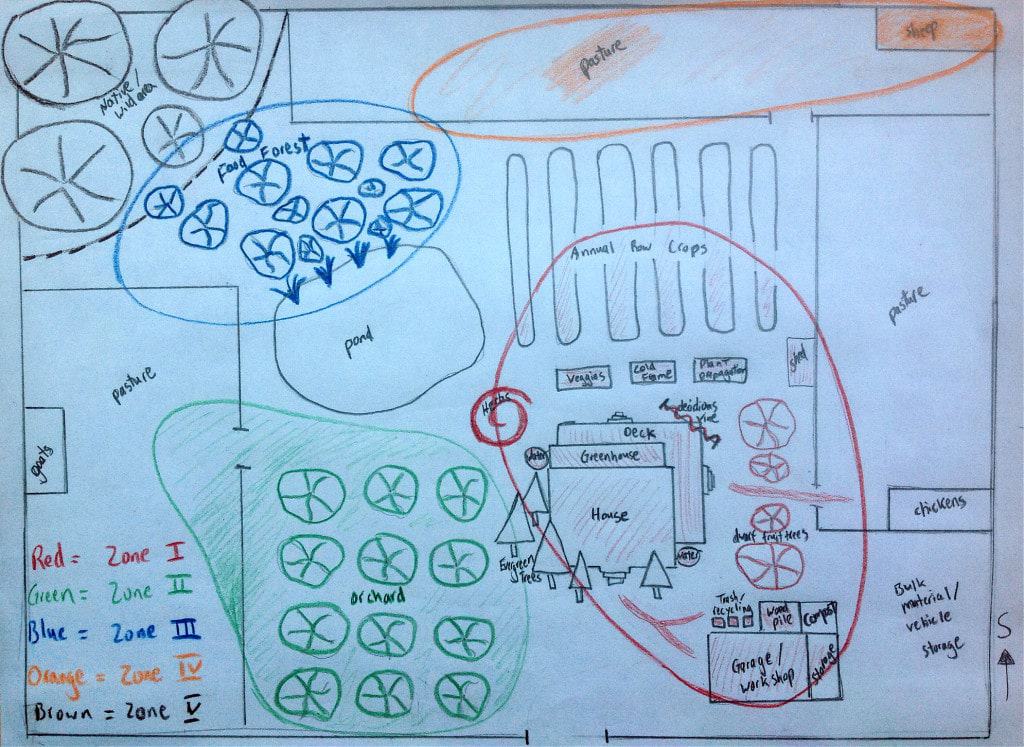
The usage and functions of zone 1 are plantings that modify the house environment, provide daily food, rainwater catchment, small livestock, social space, plant propagation and recycling. These structures will be micro-climate plants, intensive annual garden beds including herbs, rainwater collection tanks, a patio and/or deck, cold frames and greenhouses, chickens and rabbits, recycling and compost, woodshed, tool shed, storage shed and garage and/or workshop. These are the highest usage areas of your property and by keeping them close to the house you decrease the amount of work expended.
Think about collecting a big bunch of zucchinis and tomatoes in the summer, or gathering your daily eggs from the chicken coop. When you need to carry things like these back to the house on a very regular basis, it’s much nicer to have them close to the house. Need to run outside to snip a bit of fresh herbs for dinner? No problem if it’s close!
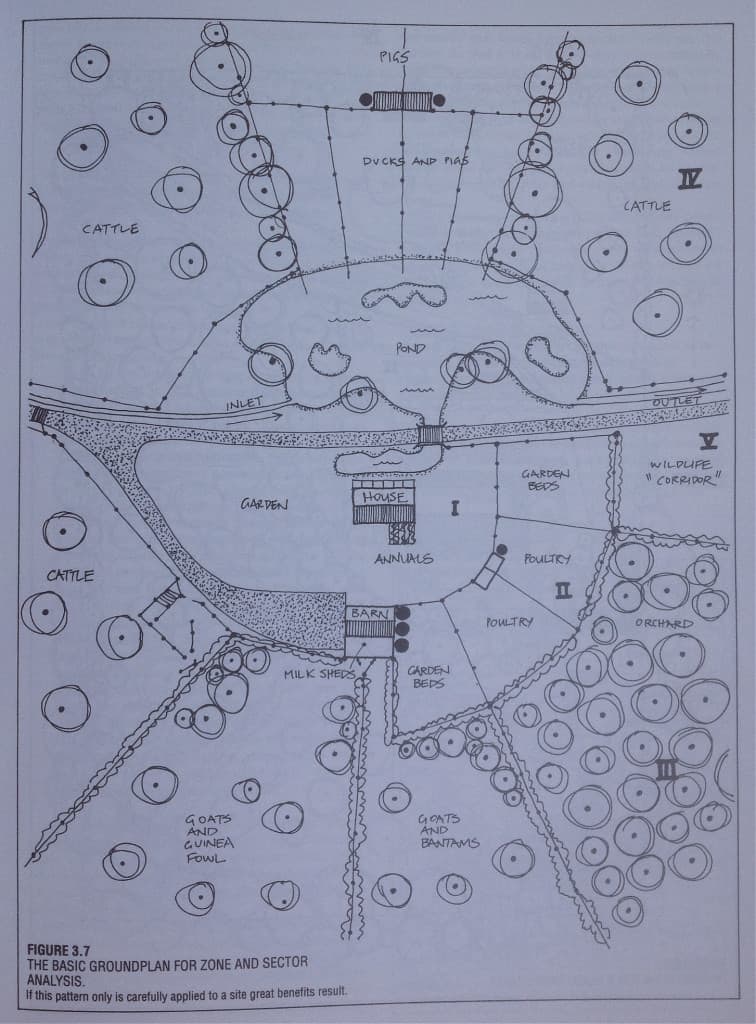
Basic Zone Ground Plan from Permaculture: A Designer’s Manual by Bill Mollison
Zone 2 is an area that is not visited on a daily basis, but still on a somewhat regular basis. It consists of orchards, barns, large ponds with fish, some food production and other somewhat frequent care items. There are some things that I consider to be zone 1 that can also be in zone 2, as you can see from this diagram above. It shows chickens in zone 2 where as in my diagram above that I have them in zone 1. It just depends on how often you think you will be visiting the chickens. If they are producing eggs you will definitely be there at least once a day, if not more, which is why I chose to include them in zone 1. This goes to show you that every property will be different based on the specific needs.
Zone 3 would ideally be an established food forest, with timber and fiber production, beneficial insect plantings, medicinal plants, bees, fungi, berries, fruit and nut trees that need minimal care.
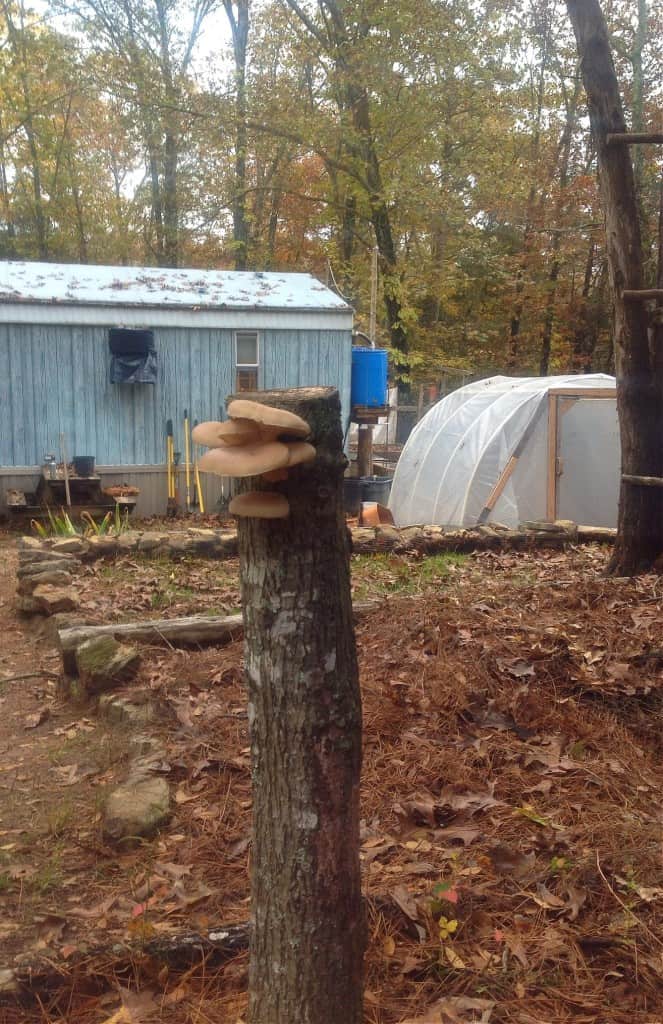
Oyster mushrooms growing on logs
Zone 4 is pasture and open grazing for larger livestock that needs little care such as cattle, sheep, or horses. Zone 5, if your property can afford the space, should be reserved as a native plant or wild area where there is no cultivation; only observation, reflection and learning from nature.
Of course some properties can only go as far as zone 3, or even zone 2 depending on the size. I would recommend trying to incorporate a least a tiny amount of zone 5 on your property if you can, but even if you get to your zone 5 by way of publicly owned, minimally managed local forests, then so be it. But don’t let a small urban or suburban lot deter you from designing your property with zones in mind, as this can be a highly efficient system for any sized property.
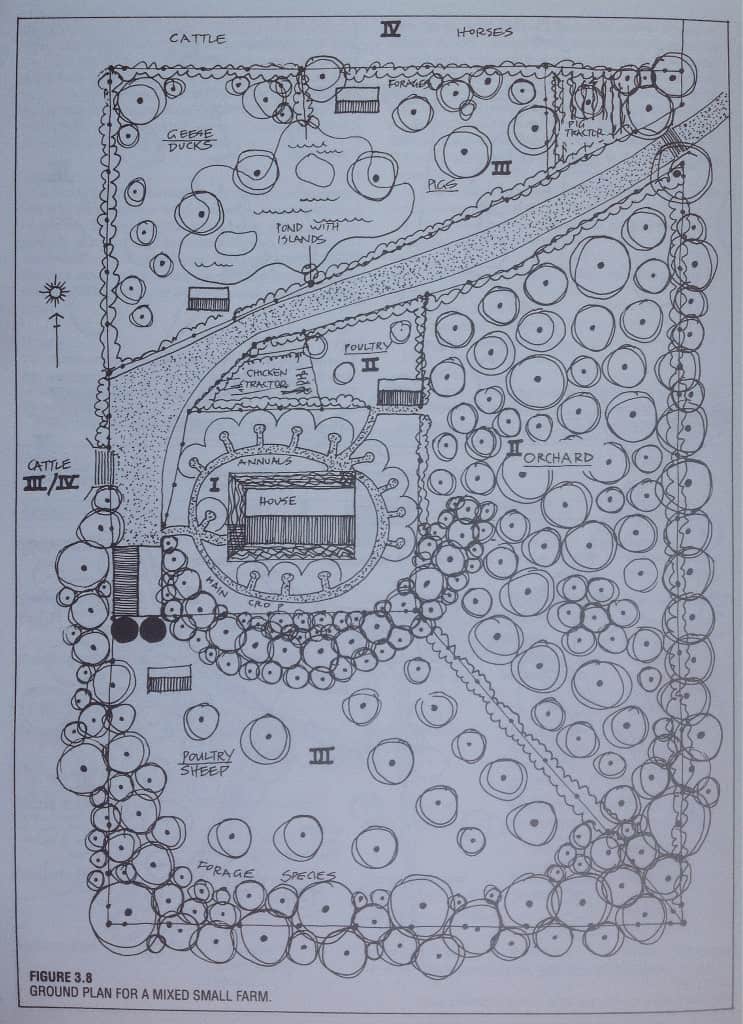
Ground Plan for a Small Farm from Permaculture: A Designer’s Manual by Bill Mollison
Figure 3.7 The Basic Ground Plan for Zone and Sector Analysis and Figure 3.8 Ground Plan For a Small Mixed Farm are both from Permaculture: A Designer’s Manual by Bill Mollison.
Thanks Joel! Just looking at these different designs makes me really excited to buy our own piece of property and start planning out our zones. I can’t wait to get our own chickens! From highly intensive to zero intensive, Permaculture just makes sense. Stay tuned for the next Permaculture 101 series from Joel!
If you’re ready to jump into creating a permaculture landscape around your home, start with our Permaculture Gift Guide or one of these great Backyard Permaculture Projects!

Leave a Reply