If you have no other reason to make your own sourdough starter, I’m telling you now, this is it! This no knead sourdough pizza has changed my life, and I know it will change yours as well. I promise!
I’m not going to say that making this sourdough pizza is as easy as ordering out from your local pizzeria, but I really think that you’ll be surprised by how easy it is. All you have to do is think about it in the morning, as the dough needs an 8-12 hour rise. Enough talk now, let’s get started!
How to Make No Knead Sourdough Pizza
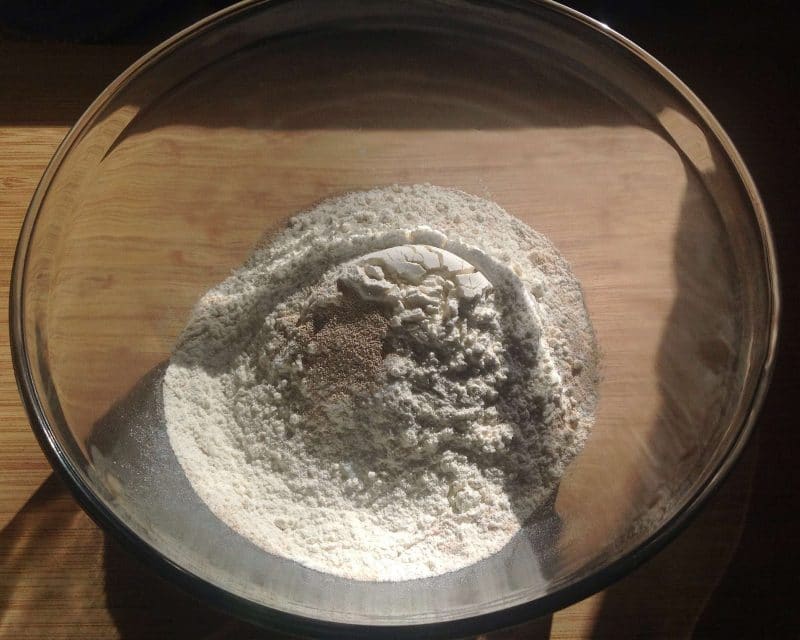
Get your sourdough pizza started in the morning. Whisk together some flour, salt, and bread yeast. I like to use half unbleached white flour and half whole wheat flour.
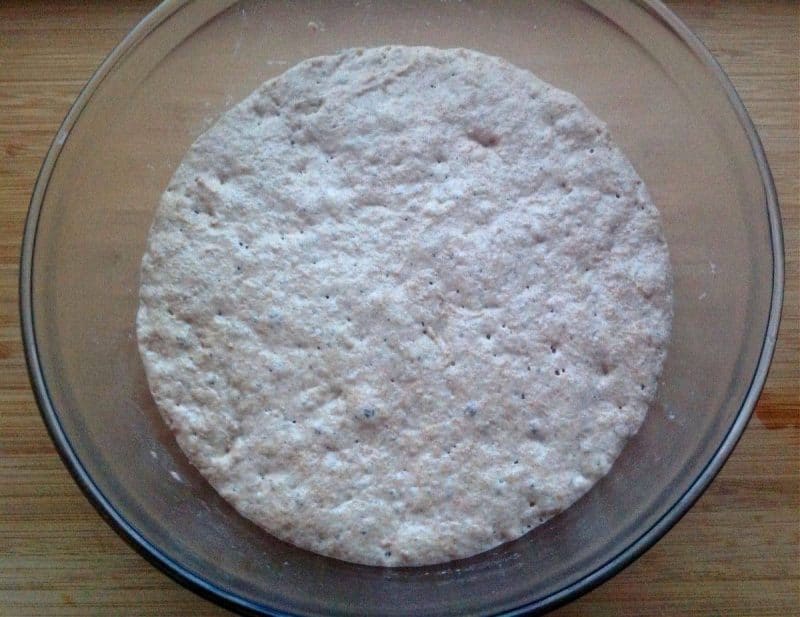
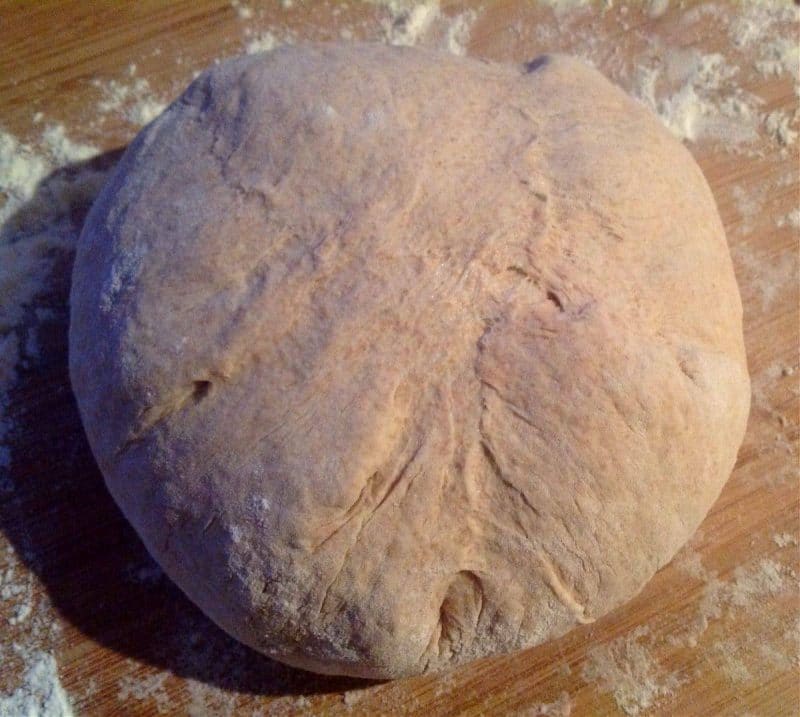
8-12 hours later, this is what you will see:
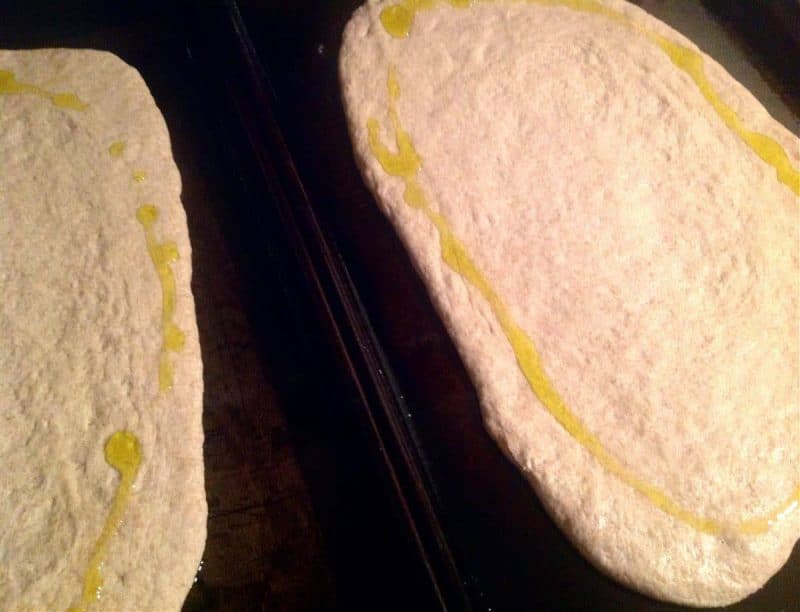
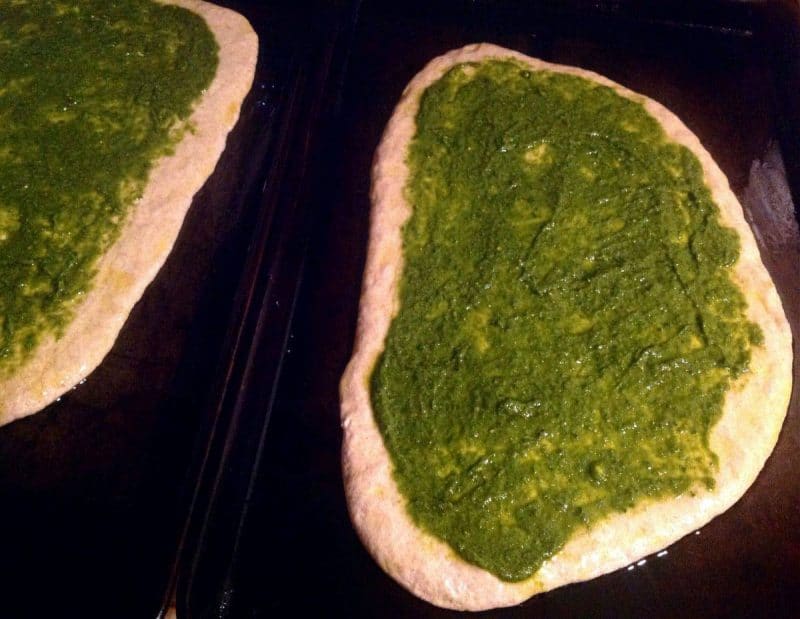
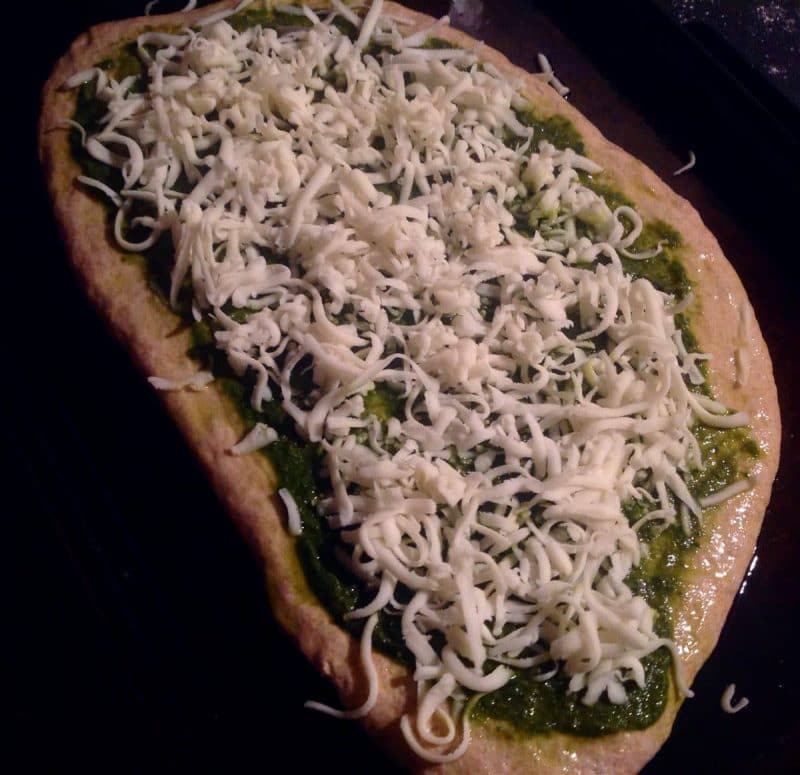
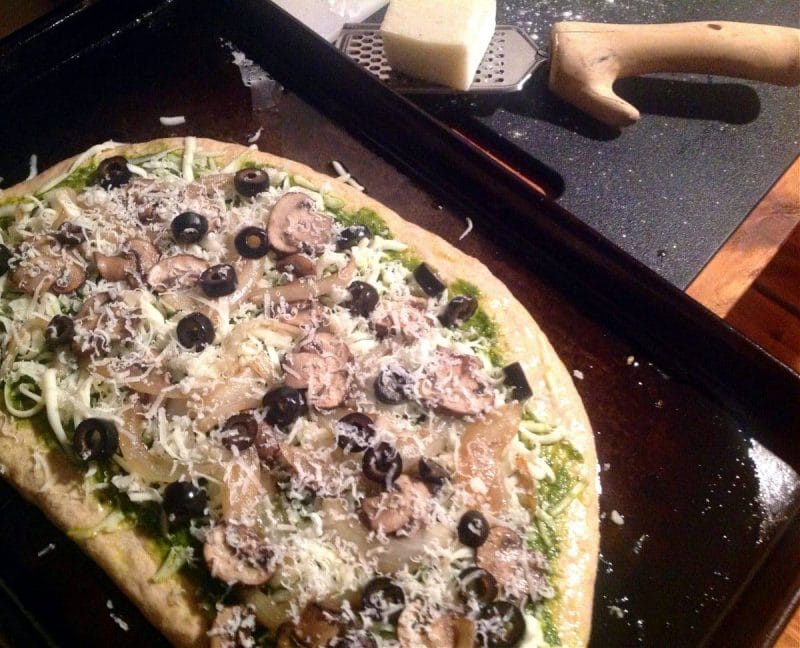
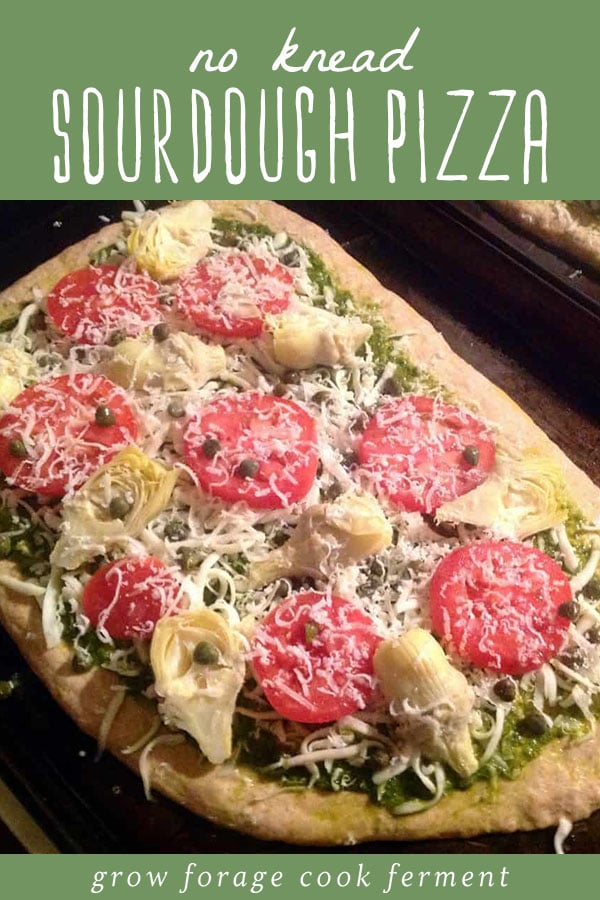
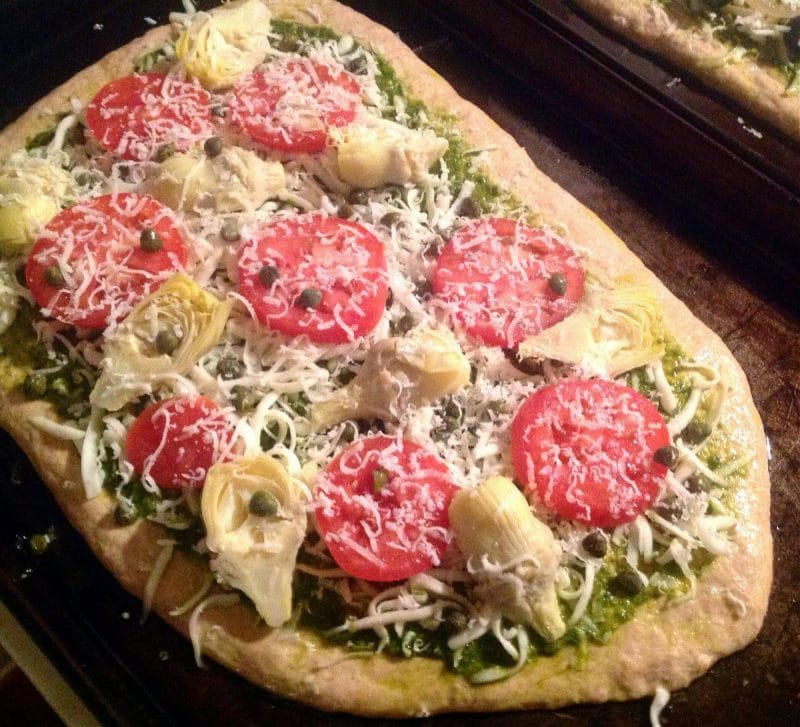
Anyways, I like to grate some Parmesan or Romano cheese on top of everything. Then, pop those suckers into the oven and check them after about 10 minutes. At this point I usually switch the pans so the one that was on the top rack goes to the bottom and vice versa for even heating.
Depending on how hot your oven runs, you may need to pull them out at around 15 minutes, but sometimes it takes up to 20 minutes. Check the bottom of the crust, it should be fully cooked and a nice light golden brown.
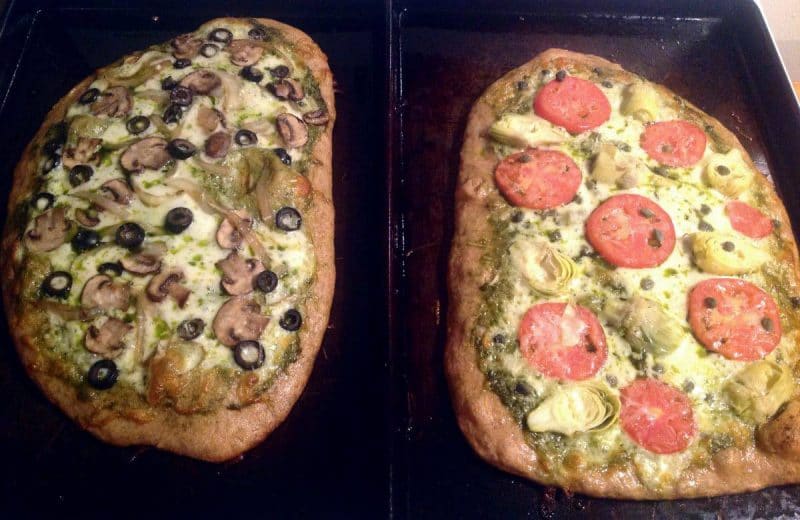
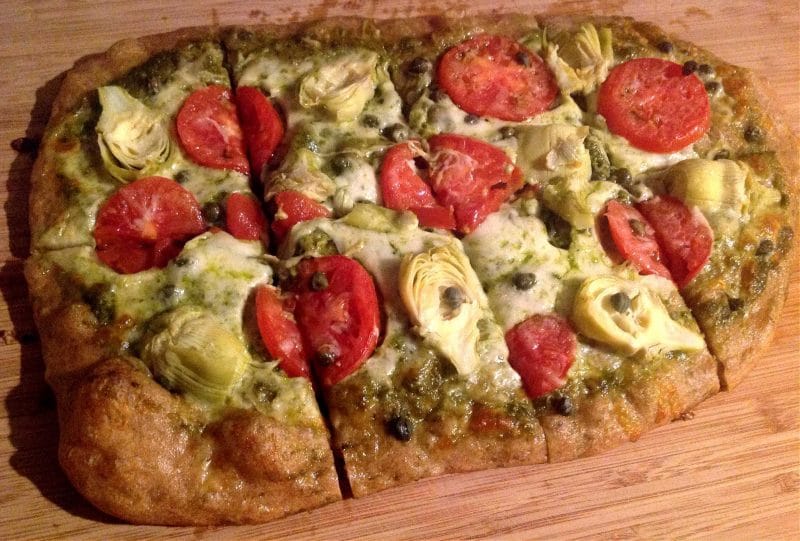
It’s nice to know that you can make a homemade pizza in no time that is actually a little bit healthy! The sourdough gives it extra flavor, but also makes it much easier to digest. If you use the pesto it’s a good way to sneak in veggies! Above all, this no knead sourdough pizza is delicious, and that’s all that really matters, right?
Here are a few more of my favorite, delicious sourdough recipes:
- Sourdough Starter
- No-Knead Sourdough Bread
- Sourdough Rye Bread
- Sourdough Blueberry Pancakes
- Sourdough Tortillas
No Knead Sourdough Pizza
Ingredients
- 3 cups all purpose flour plus extra for dusting
- 1 tsp salt
- ¼ tsp rapid rise bread yeast
- 1 tsp honey
- 1 ½ cup warm water
- ¼ cup sourdough starter
- 4 tbsp extra virgin olive oil divided
- tomato sauce or pesto
- shredded cheese
- various toppings
Instructions
- Whisk together the flour, salt, and bread yeast.
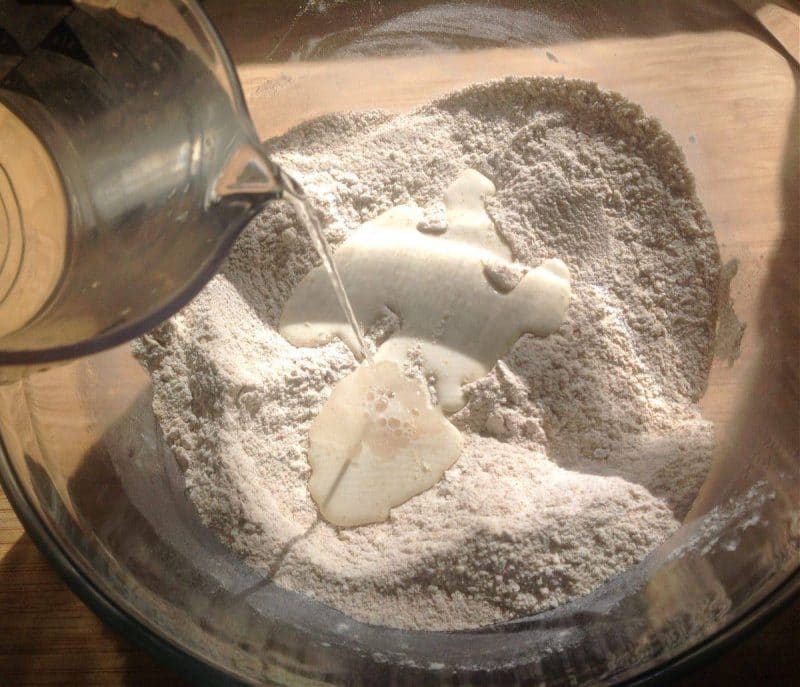
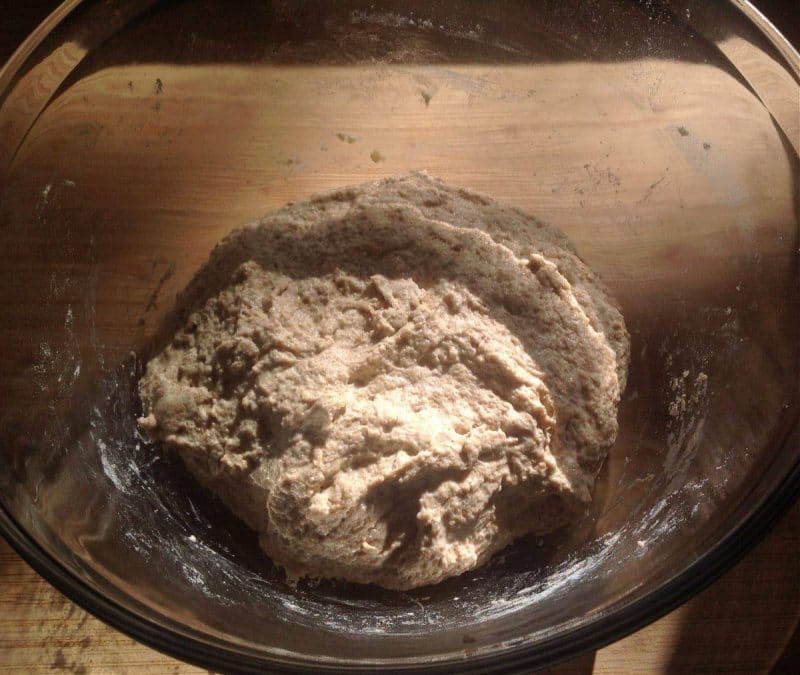
- Dissolve honey in the warm water, then add the honey water and sourdough starter to the dry ingredients. Stir all the ingredients until a shaggy and mildly wet dough forms. Add additional water if needed, a tablespoon at a time, until you reach the correct consistency (see post photos).
- Cover with plastic wrap, then place in a warm location until you're ready to bake.
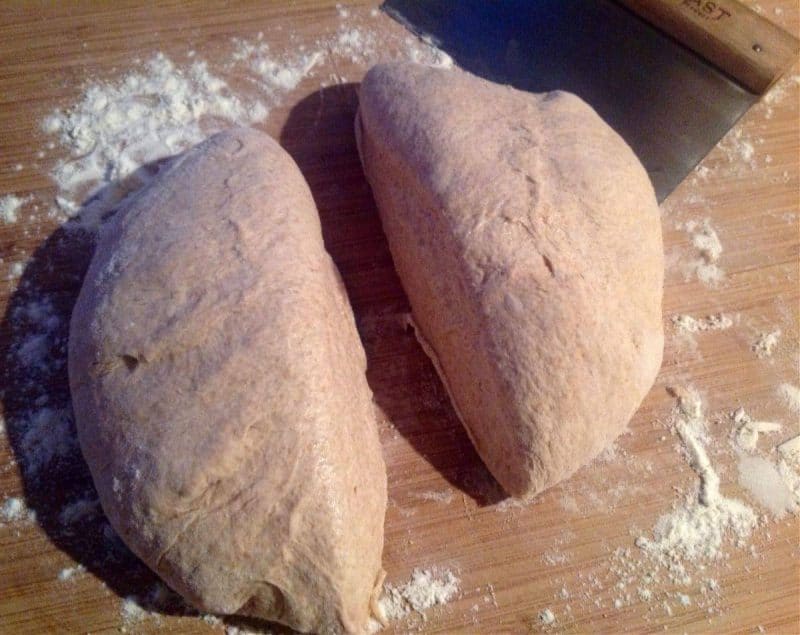
- When you're ready to bake, turn the dough out onto a floured surface and knead a few times until it comes together. Cut the dough in half.
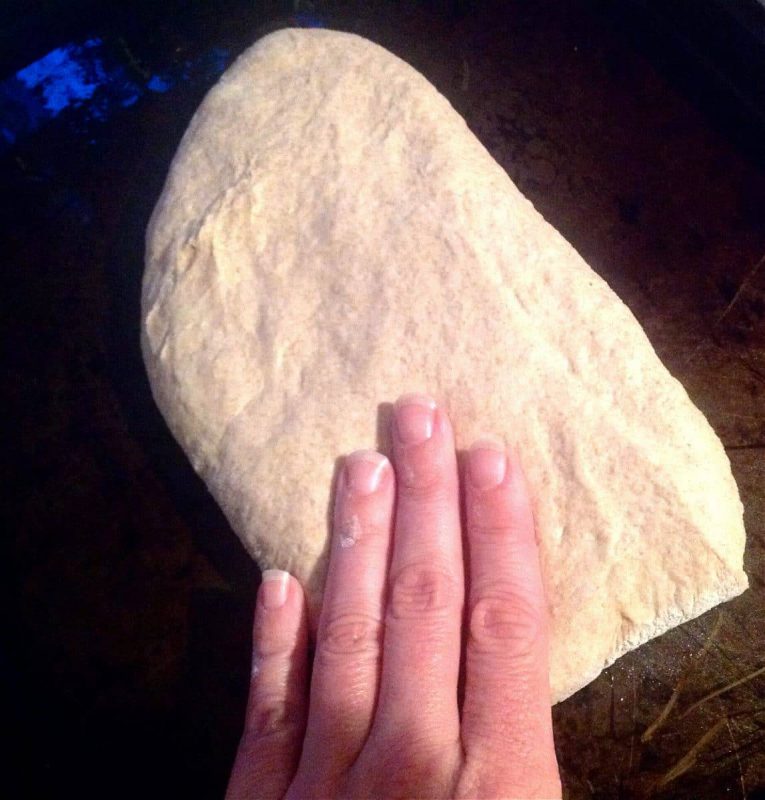
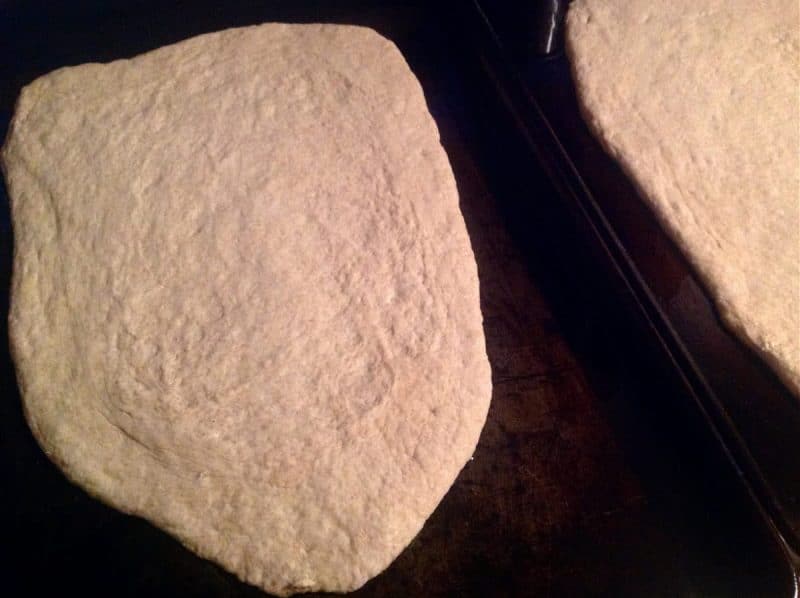
- Rub two baking sheets with half the olive oil. Stretch a dough half until it's about 1/2" thick, then lay onto one of the baking sheets. Repeat with the other piece of dough.
- Heat the oven to 450°F.
- Brush the dough with the remaining olive oil, and then add your sauce, toppings, and cheese.
- Put the baking sheets into the oven and bake for 10 minutes. Rotate the pans, then cook an additional 5-10 minutes depending on how hot your oven runs. The bottom of the crust should be fully cooked and light golden brown. Remove from the oven, slice, and enjoy!
Notes
- Note: Calorie count does not include toppings.




Hey there….Happy Day!
Do you have instructions for freezing this dough?
Thanks,
Peg
I’ll certainly be giving this a try, as it’s a little different from my usual recipe for sourdough pizza. However, I wonder why you put honey and ordinary bread yeast into the mix. What do these do that doesn’t happen without them?
Could you use gluten free flour with this recipe? I love the info on your page it’s great.
Thanks
You can certainly try, but the results may not be the same. Thank you! :)
I will make this myself now that I have the recipe.