In this tutorial you will find out everything you need to know to learn how to cook dried beans from scratch. With so many methods, you’ll find the one that is right for you, from the pros and cons of soaking vs not soaking, the varieties of beans to use, and how to use them, as well as the different method from stove top, slow cooker, and pressure cooker.
If you’ve never cooked dried beans before you may be daunted by the task. After all, it seems much easier to buy canned beans.
In this tutorial I will cover everything you need to know to cook dried beans. You’ll discover it’s easier than you think, way more delicious, and super cost effective!
Beans and legumes are a heart healthy plant-based protein that is a heart healthy food that is high in iron, fiber, and potassium. They are used in many flavorful dishes, and are an excellent pantry staple to have on hand.
What’s the difference between legumes and beans?
The term bean and legume are often used interchangeably, or confused. Beans are a type of legume. Legumes are defined by the characteristic of growing in a pod. Therefore beans are legumes along with lentils, peas, and peanuts!
Why cook beans from scratch?
There are many reasons to buy and cook dried beans from scratch rather than buying canned beans. Namely, they are cheaper, easier to store, healthier, and taste better!
Dried Beans are More Cost Effective
If you’re looking for ways to reduce your grocery bill, than dried beans are going to become your new best friend.
Purchasing dried beans is extremely inexpensive. Beans are a plant protein, meaning they can easily become a substitute for more expensive proteins in your meals such as animal protein, dairy, or soy products.
Not only that, but purchasing dried beans instead of canned offers you an even bigger savings. One serving of dried beans costs approximately $.15, while one serving of canned beans costs approximately $.50.
Buy Beans in Bulk and Store
The great thing about dried beans is that you can buy them in bulk and store them for a long period of time.
While you can do the same with canned beans, but they will take up much more space, and they will have an expiration date. Dried beans have a longer shelf life.
Store your dried beans in glass mason jars or containers with a sealed lid to keep them fresh.
Related: 5 Tips for Organizing Your Pantry With Jars
Beans Cooked From Scratch Taste Better
Dried beans truly taste better than canned.
When beans are canned they take on a metallic taste. Sometimes they have too much salt added or become mushy.
This is not the case when you’re making dried beans. They are fresh, have a firm consistency, and you have control over the seasoning.
Dried Beans are Healthier than Canned
Beans are a healthy plant protein. They are full of fiber, vitamins, and minerals.
However, canned beans can have a high amount of sodium which we all need to watch, but is of particular concern for those with high blood pressure and other heart conditions.
The other health concern with canned beans is BPA.
While most canned products are now made with BPA-Free lining, it is always a safer bet to stay away from canned products to reduce the risk of exposure to BPA resin and other potentially toxic compounds.
Excellent Source of Plant Protein
Beans are high in fiber, minerals, and nutrients. In addition, the major benefit of dried beans is their protein content.
Each type of bean has a slightly different protein profile. A one cup serving of pinto beans contains 15 grams of protein.
Common Types of Dried Beans and Cooking Times
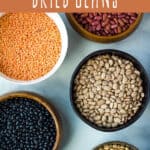
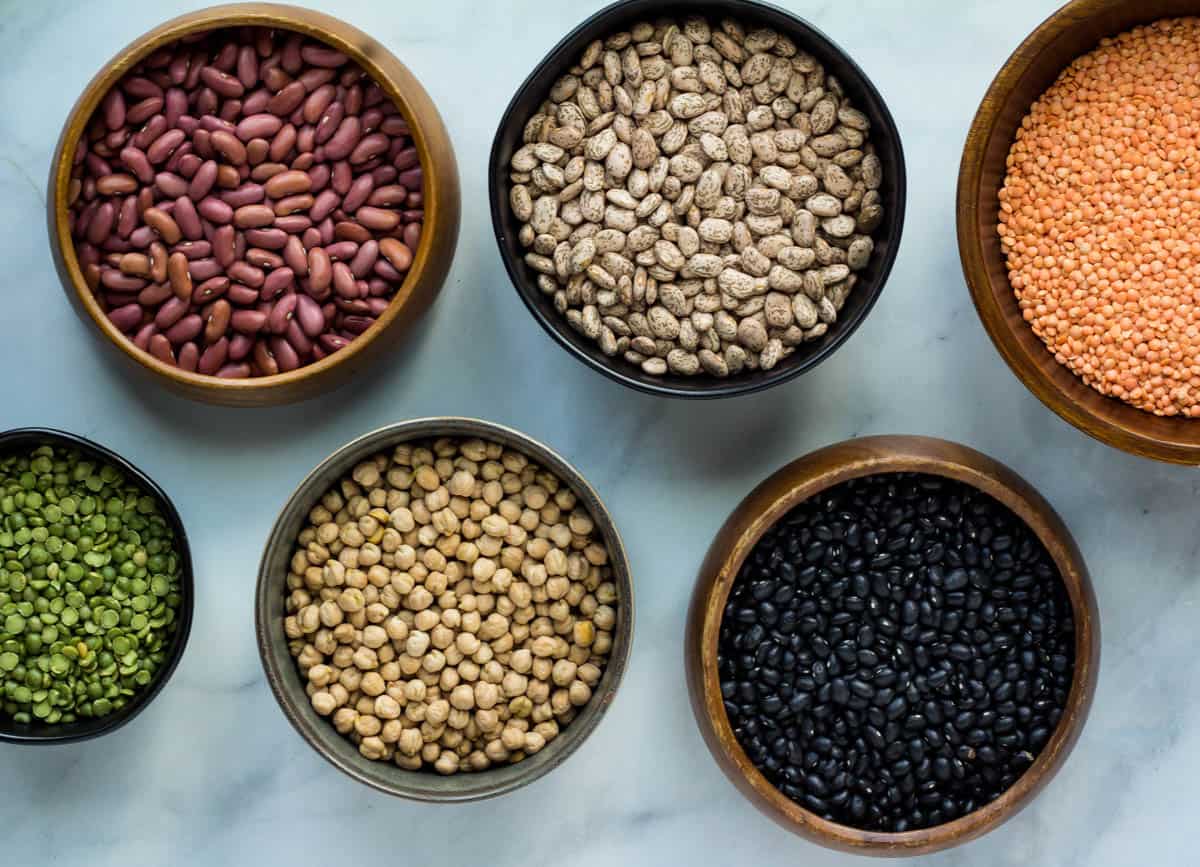
There are many different varieties of beans. They come in different shapes, sizes, and colors. As a result they also have different flavors, textures, and uses. Heirloom beans are beautiful and add some variety.
Depending on the type of bean you are making the cooking times will vary based on their size.
Another factor to consider when cooking beans is their age. If you have older beans they are going to require longer cooking times.
While dried beans are great to have on hand, and have a long shelf life, old beans will have a slightly different taste and texture, and will likely need a longer cooking time.
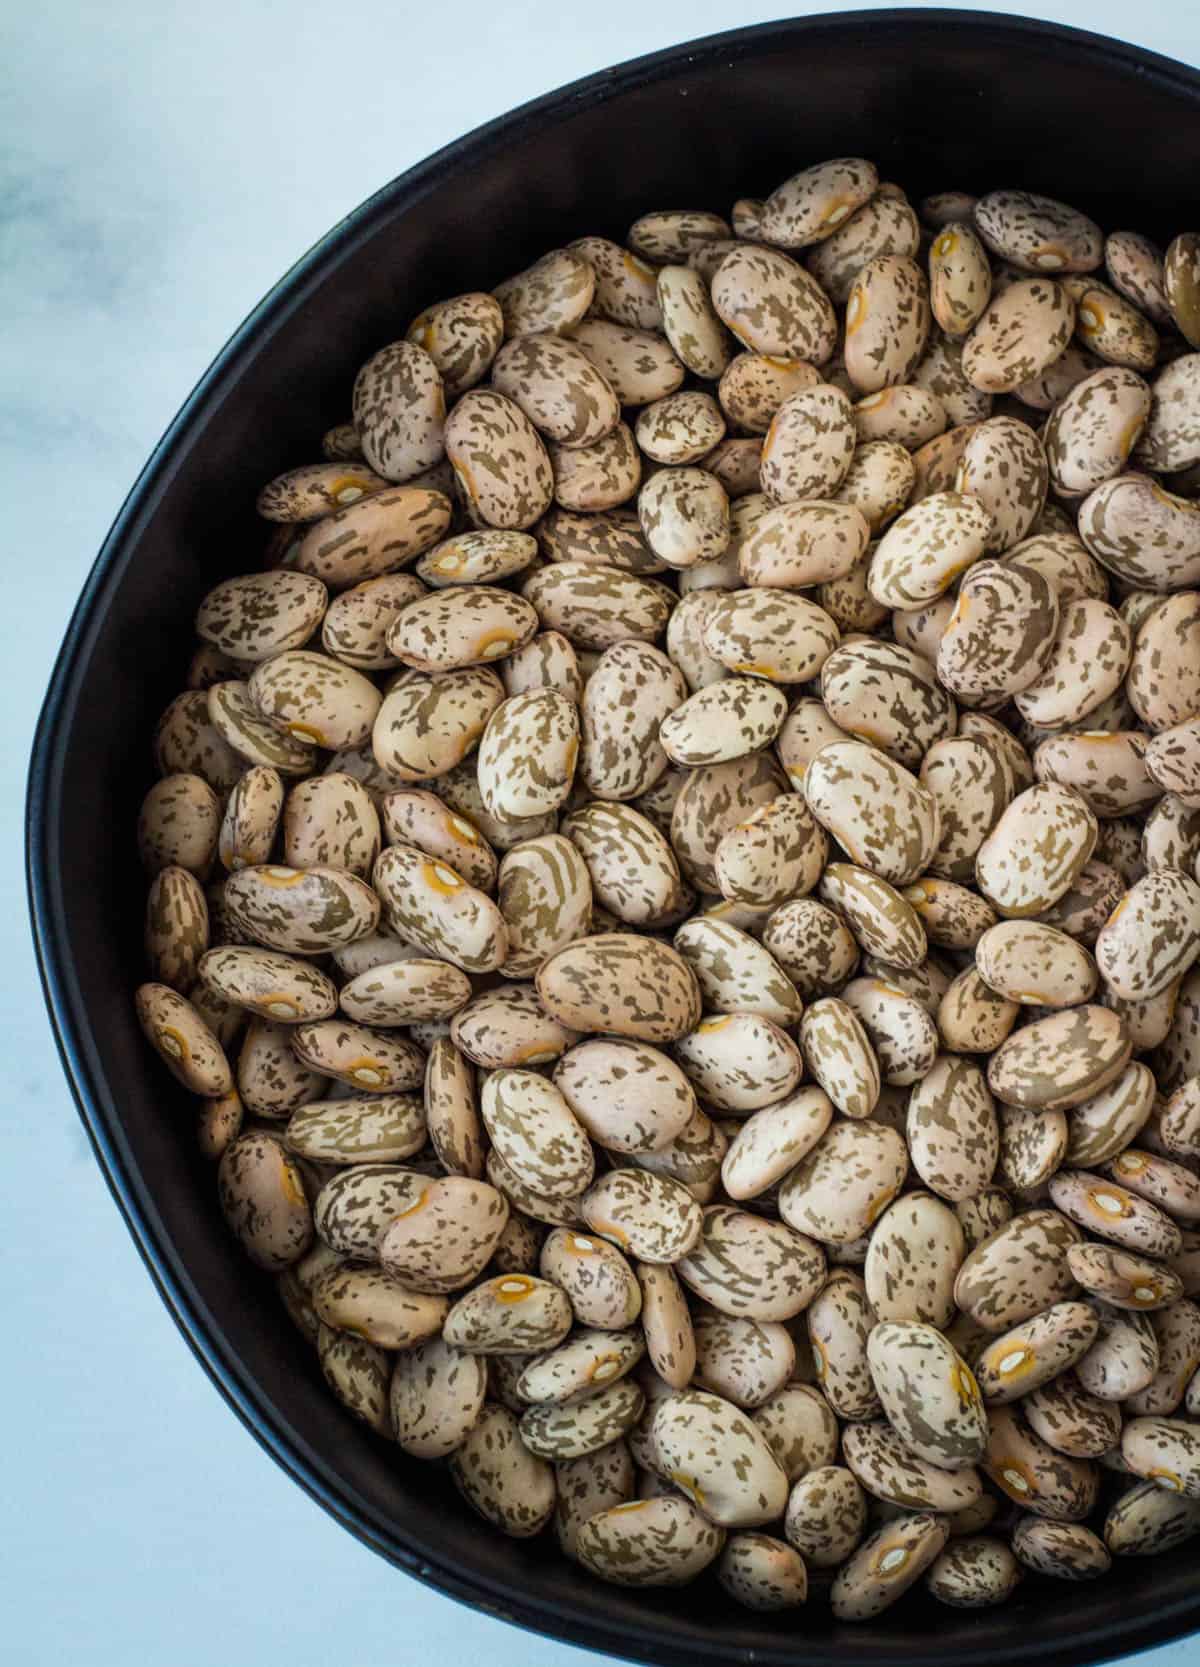
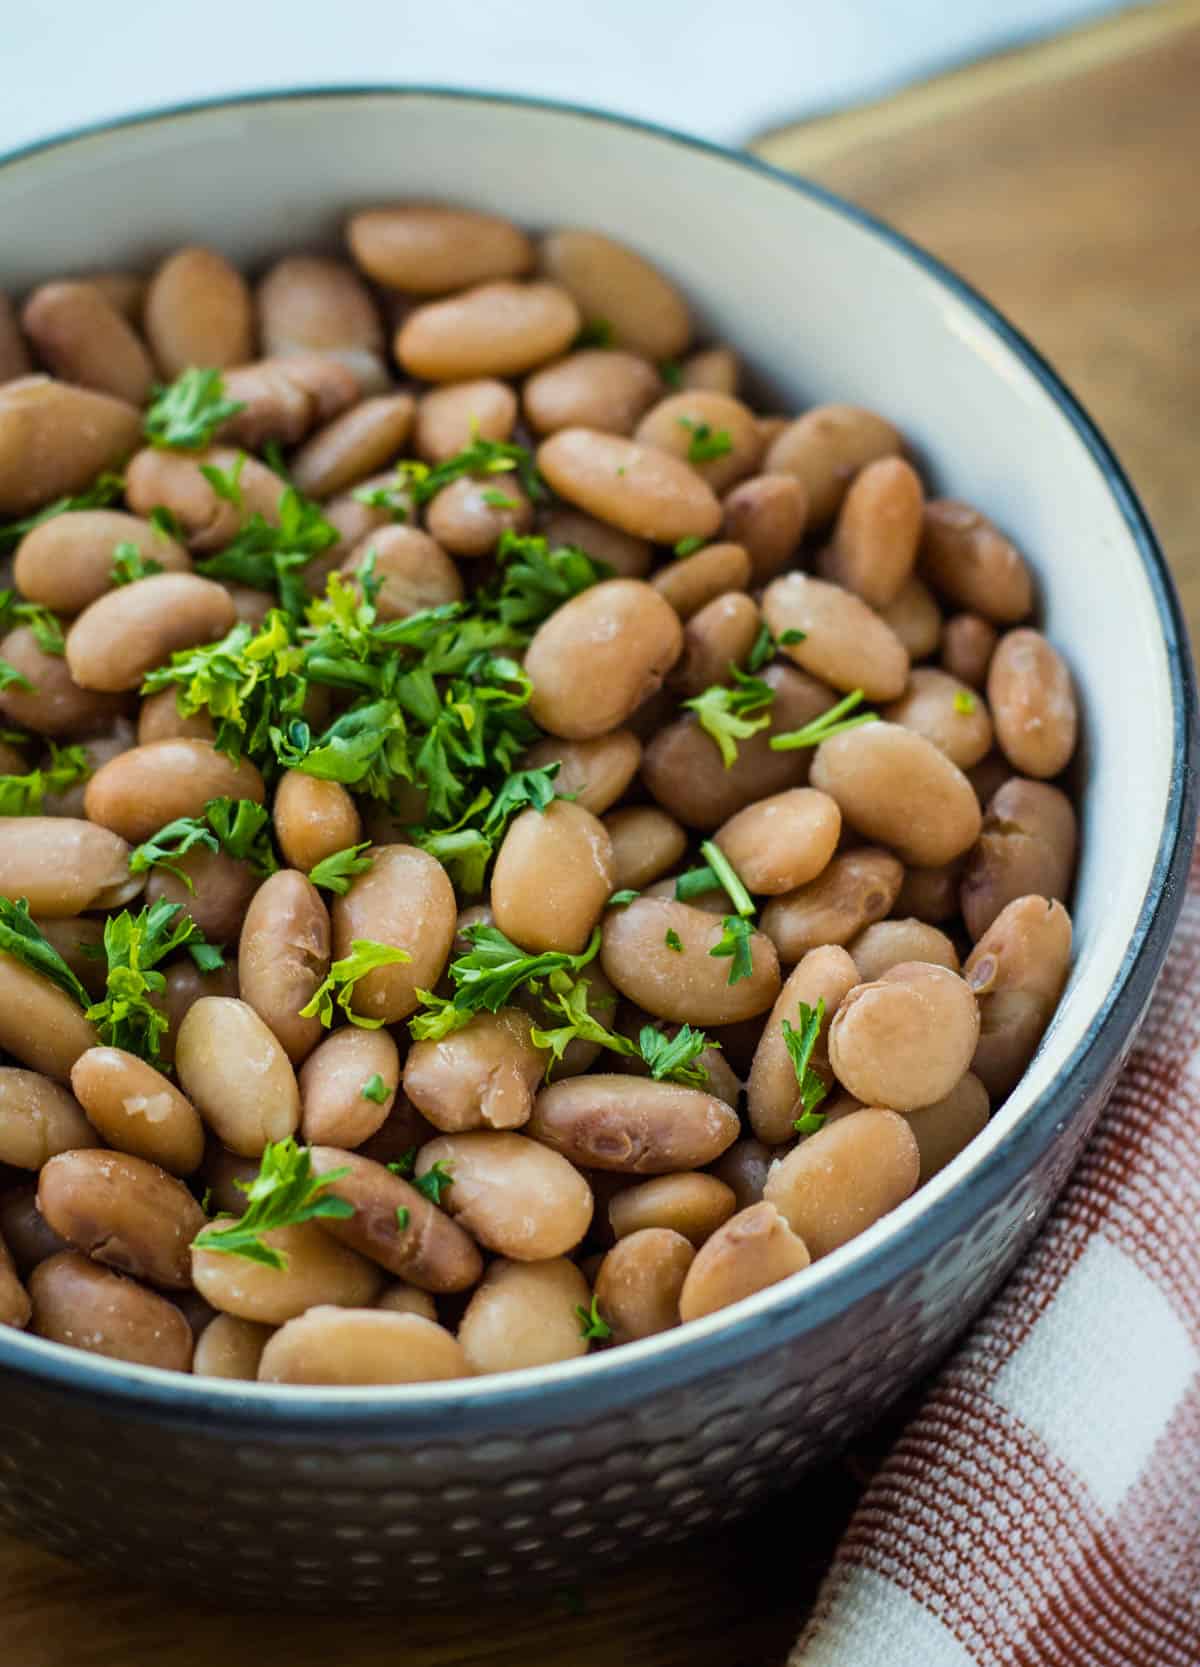
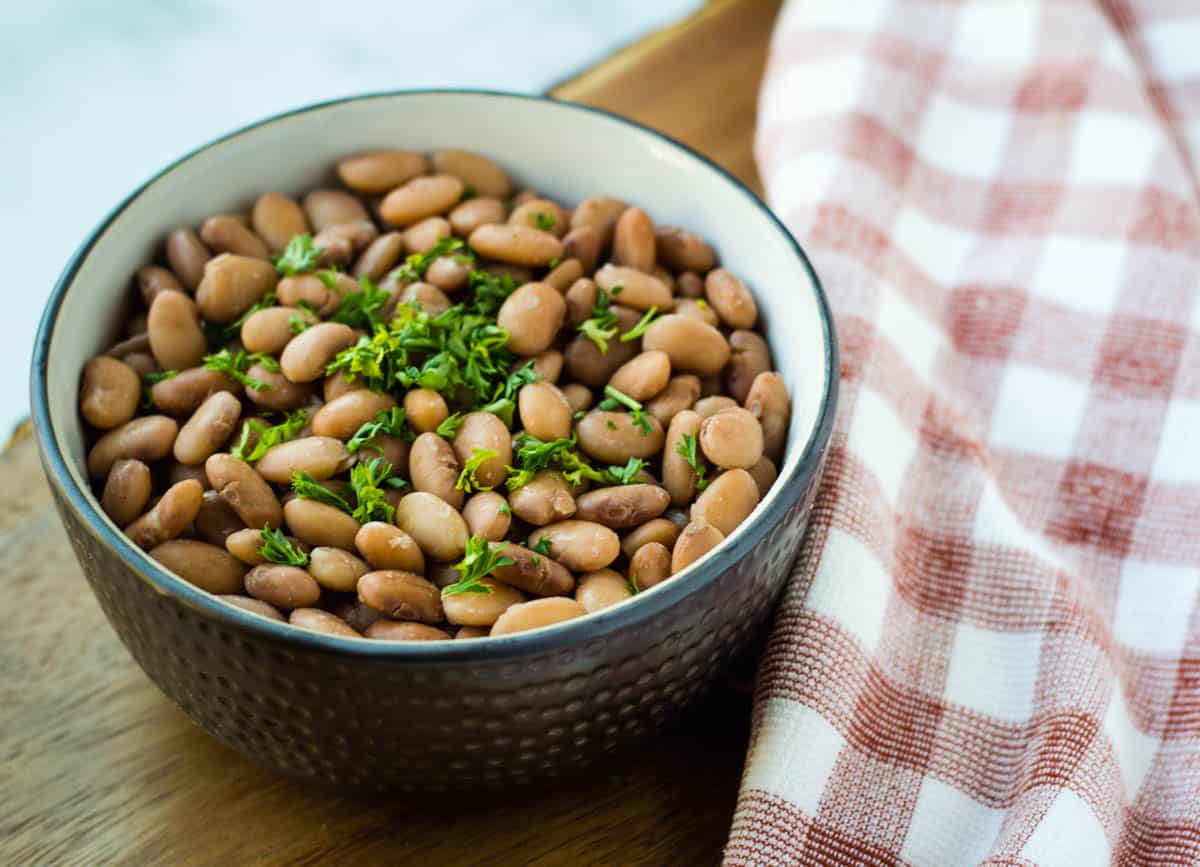
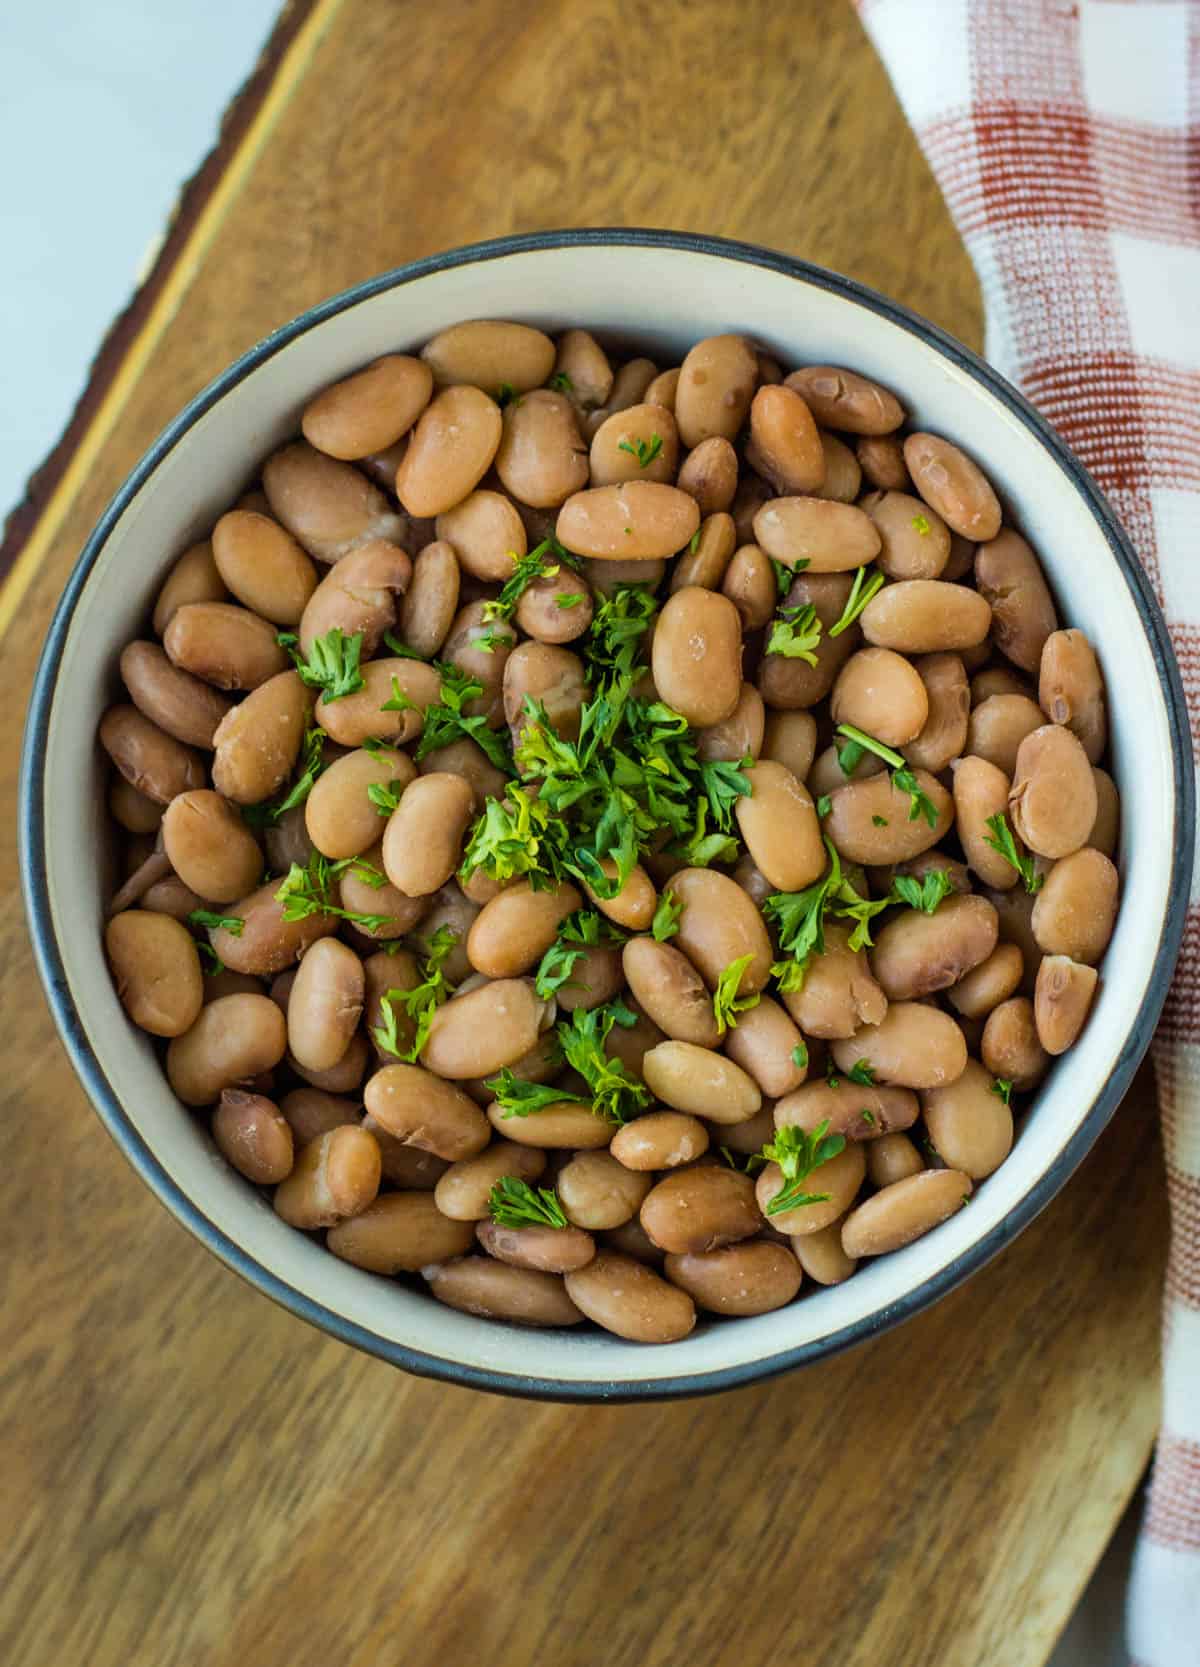
Dried Pinto Beans
Pinto Beans
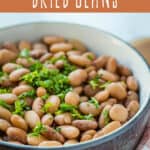
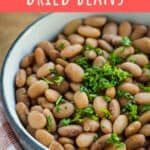
Pinto beans are arguably the most popular beans. They are a speckled bean that is common in the Southwestern United States, and Northern Mexico.
They are often made into refried beans, or put into chili recipes. They have a creamy texture and earthy flavor.
Stovetop Cooking Time:
- Overnight-1 1/2 – 2 hours
- Quick Soak- 1 ½ hours
- No Soak- 2-2 ½ hours
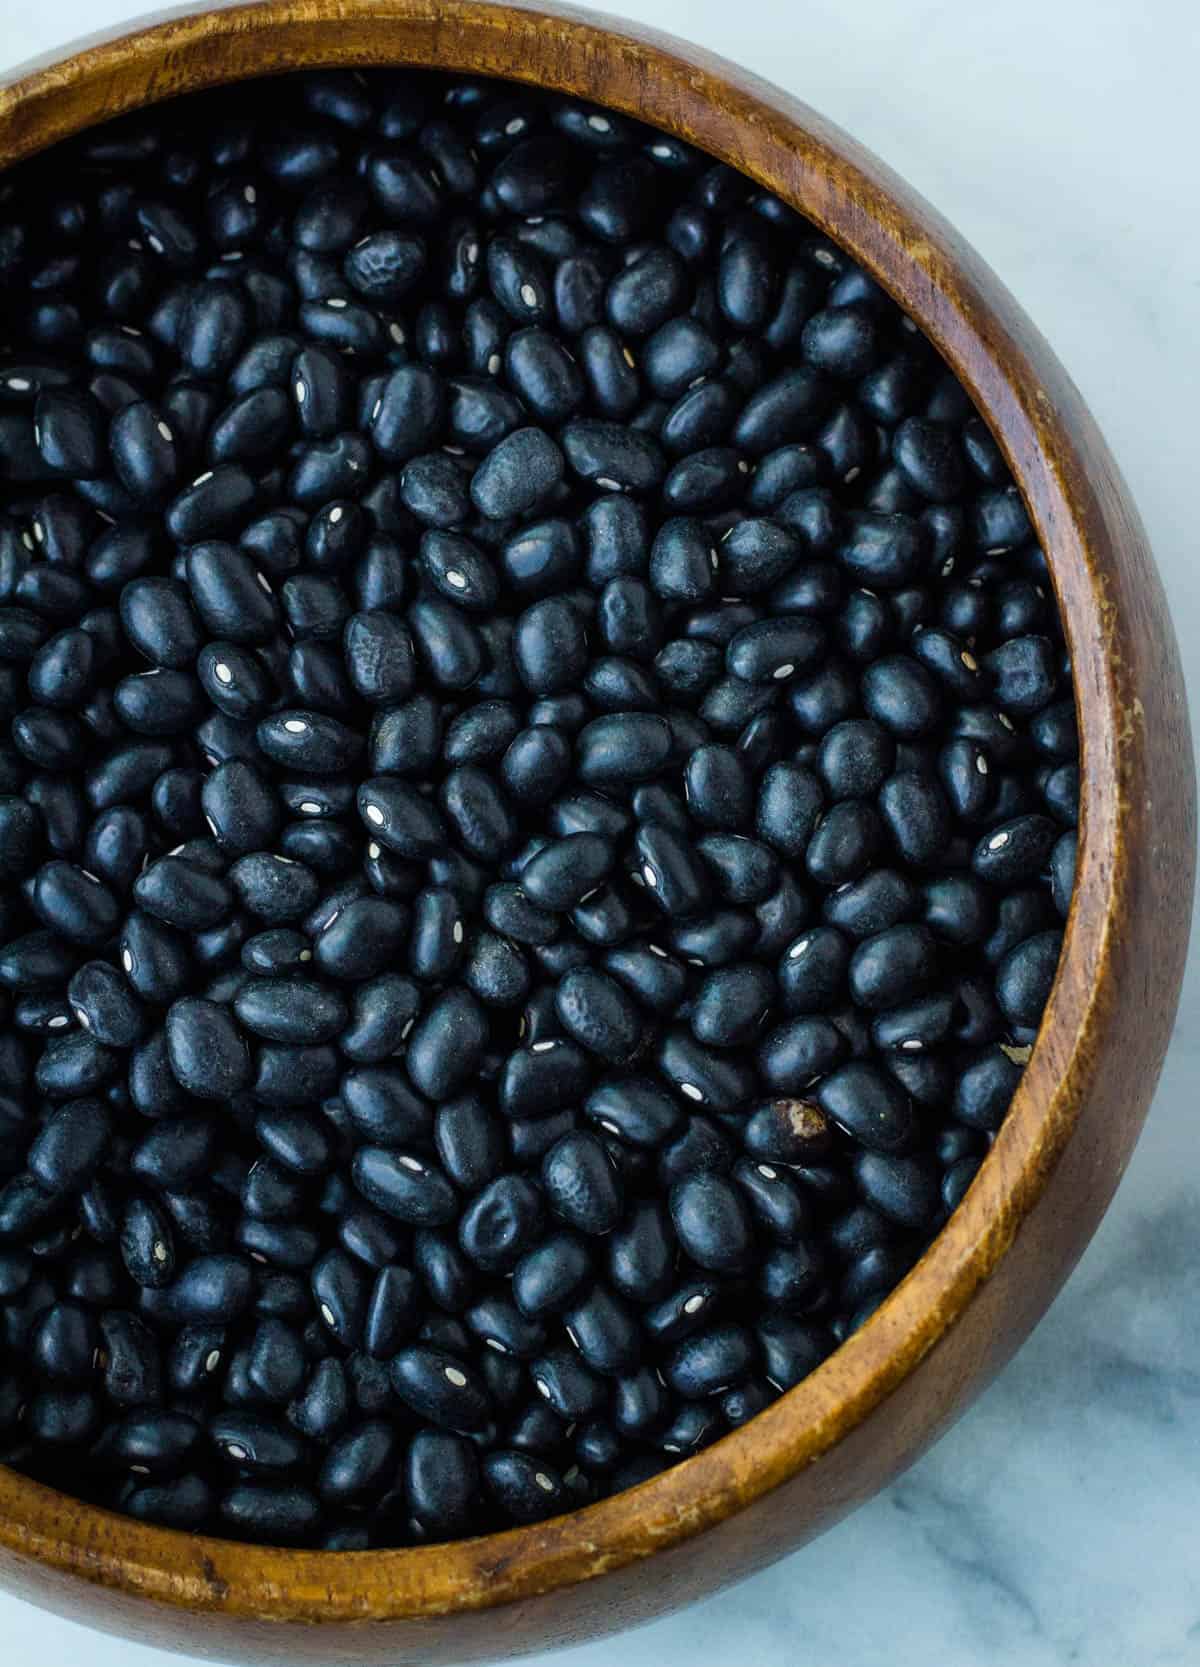
Dried Black Beans
Black Beans
Another very common bean variety, black beans are also commonly used in Southwestern and Mexican cuisine.
They have a similar taste and texture to pinto beans, are smaller in size, and dark in color. They can also be used to make refried black beans.
Stovetop Cooking Time:
- Overnight-1 ½-2 hours
- Quick Soak-1 ½-2 hours
- No Soak- 2-2 ½ hours
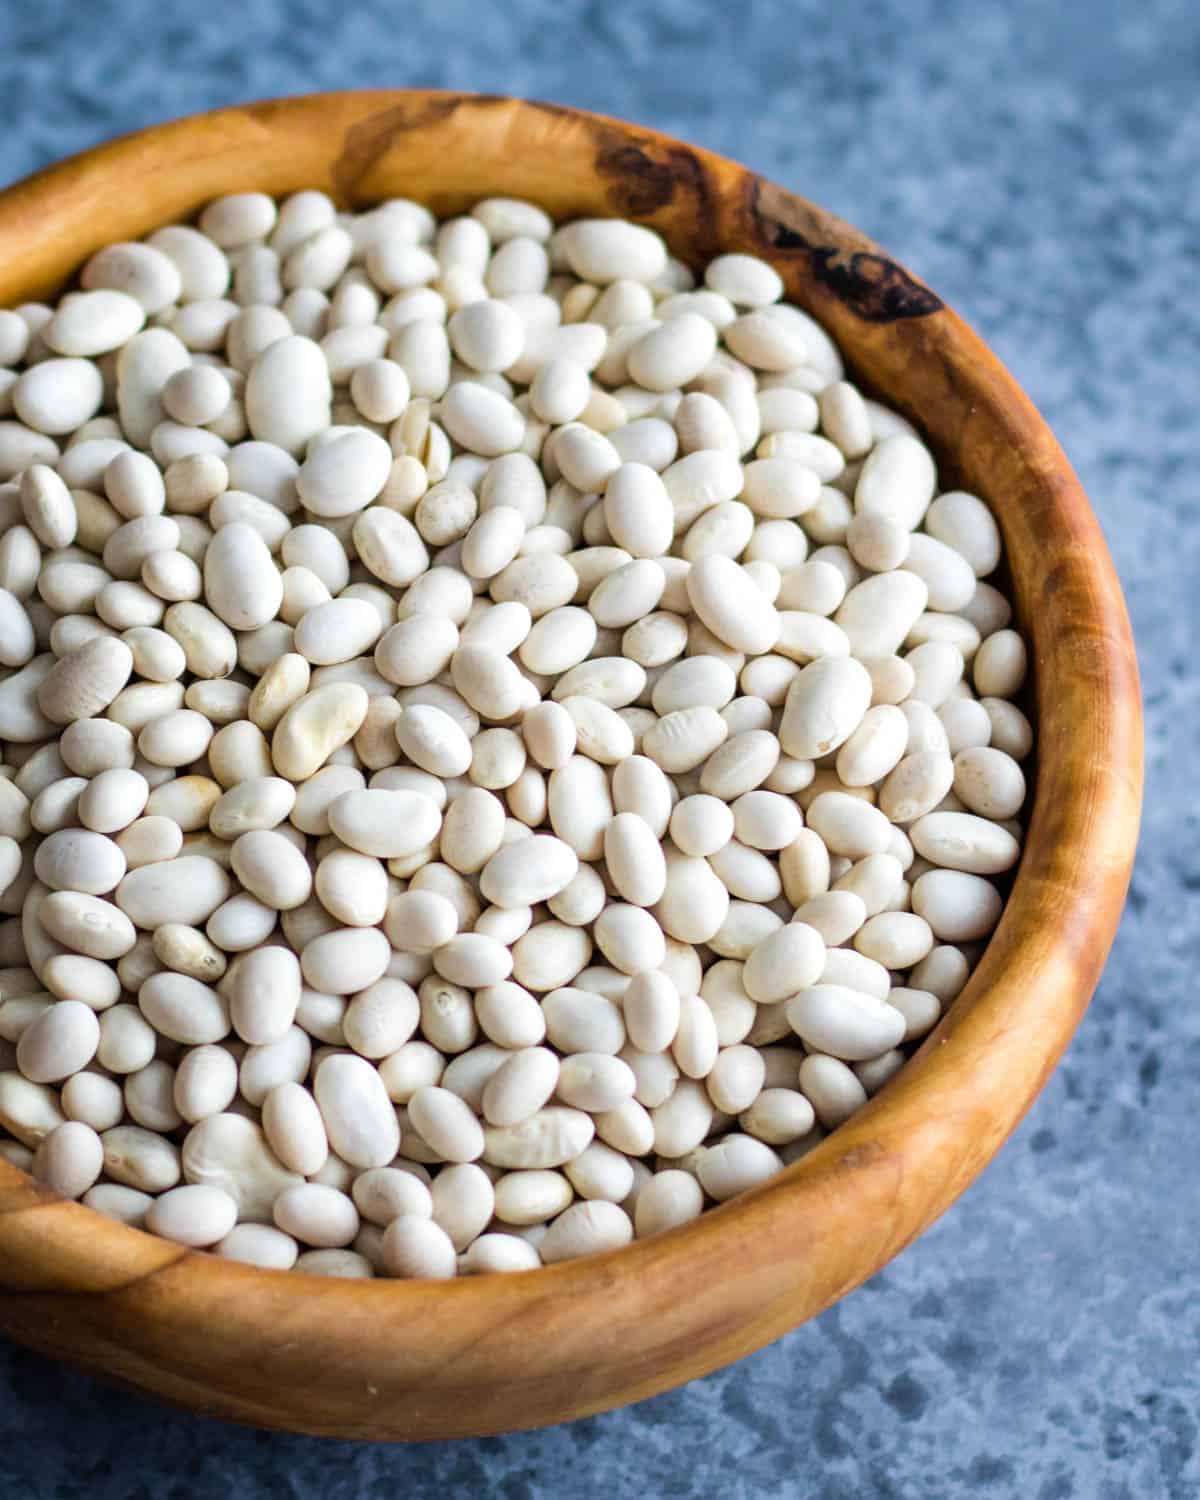
Dried White Beans
White Beans (Navy, Cannellini, Great Northern)
There are a few different common varieties of white beans that are often used interchangeably in recipes. They are used in recipes such as white bean soup, white bean chili, or baked beans.
- Great Northern beans are medium sized, and hold their shape well when cooked. They absorb the flavors of other ingredients so work well in dishes with a rich amount of spices.
- Navy beans are similar to Great Northern beans but are smaller in size. They also don’t hold their shape as well as Great Northern beans. They have a creamy texture and mild flavor.
- Cannellini beans are the largest of the white beans. They are meatier yet have a similar mild flavor to the other types of white beans. They have a mild nutty flavor. (Note: cannellini beans are related to kidney beans and should not be cooked in a slow cooker – see the section on kidney beans below).
Great Northern Beans Cooking Times for 14 oz of Dried Beans:
- Overnight- 1 ½ hours
- Quick Soak- 1 ½-2 hours
- No Soak- 2-2 ½ hours
Navy Beans Cooking Times for 14 oz of Dried Beans:
- Overnight- 1 hour
- Quick Soak- 1 hour
- No Soak- 1 ½ – 2 hours
Cannellini Beans Cooking Times for 14 oz of Dried Beans:
- Overnight- 1-1 ½ hours
- Quick Soak- 1-1 ½ hours
- No Soak- 2-2 ½ hours
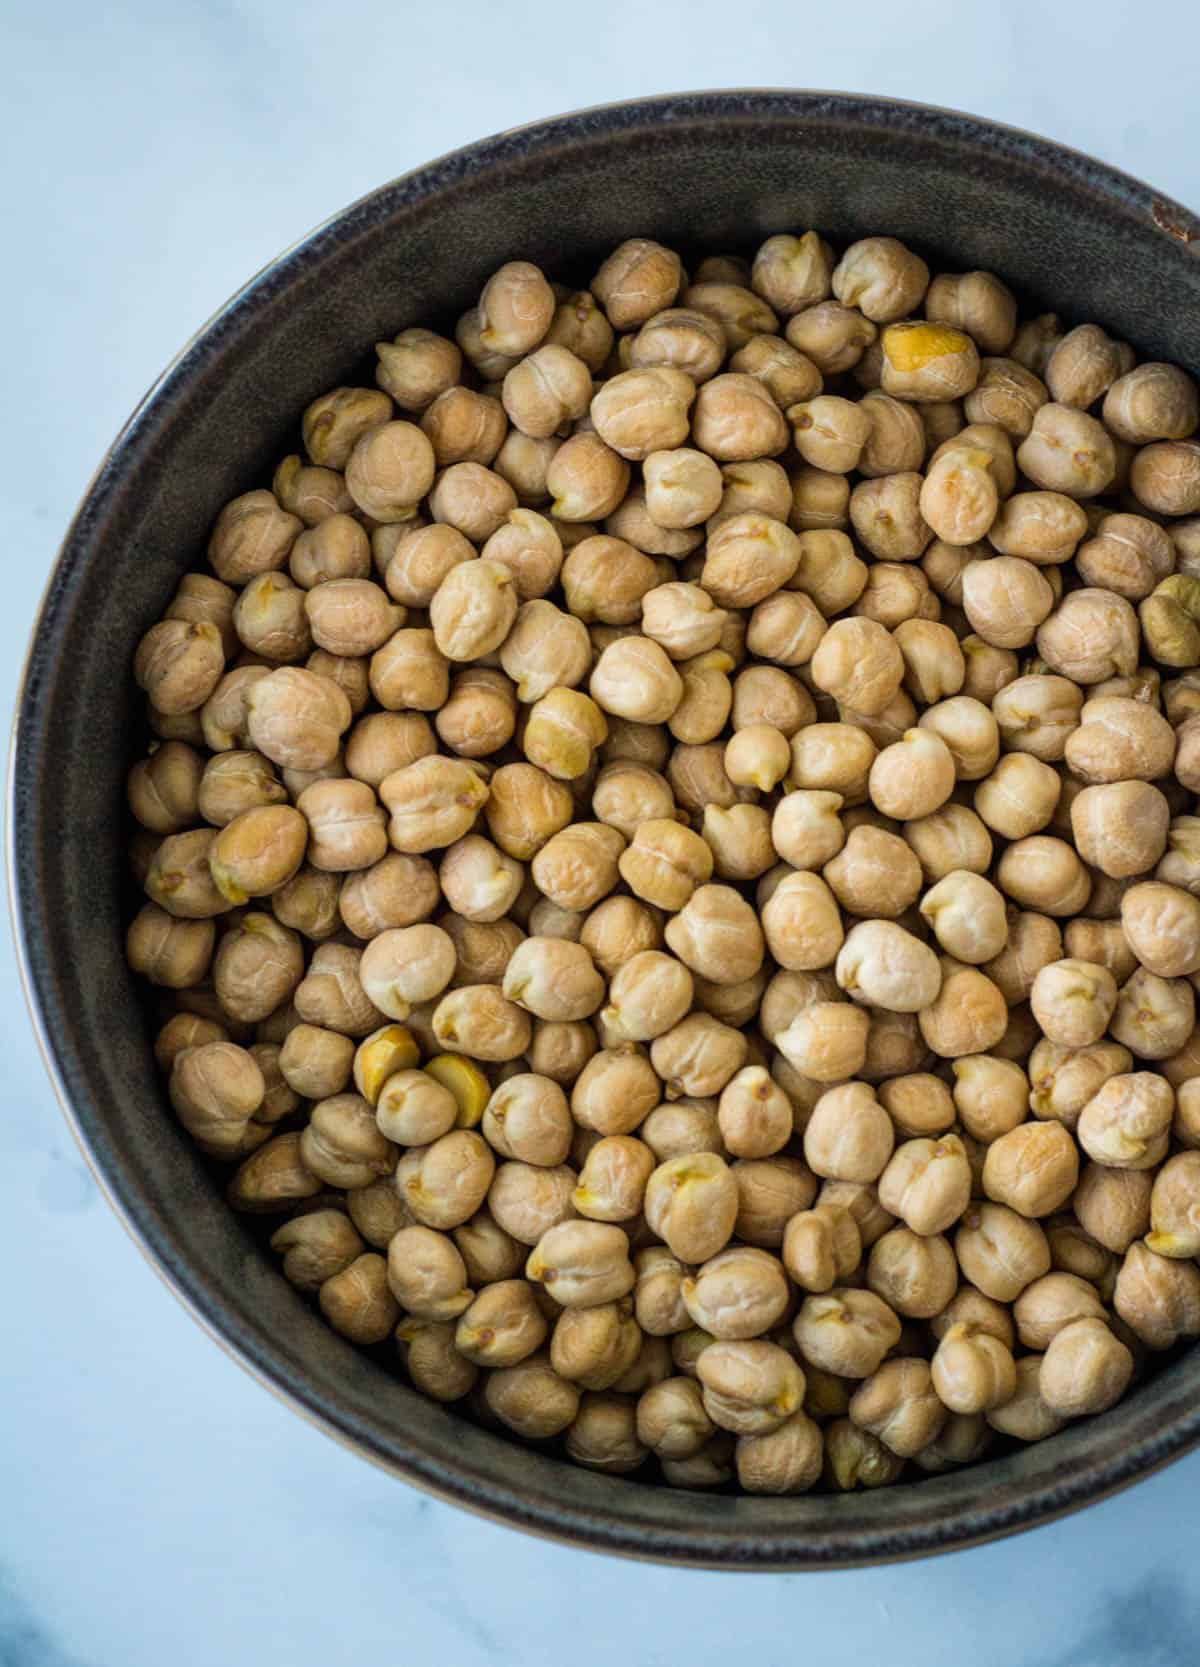
Dried Garbonzo Beans (Chickpeas)
Garbanzo Beans/Chickpeas
Garbonzo beans, also called chickpeas, are a round versatile bean. They are firm in texture and have a mild flavor. Often used in curries and to make hummus, they are prominent in world cuisine.
Chickpeas are also ground to make a chickpea flour that is used to make pastas, and pizza crusts.
Chickpea Cooking Time for 14 oz of Dried Beans:
- Overnight-1 ½-2 hours
- Quick Soak-1 ½-2 hours
- No Soak-2-2 ½ hours
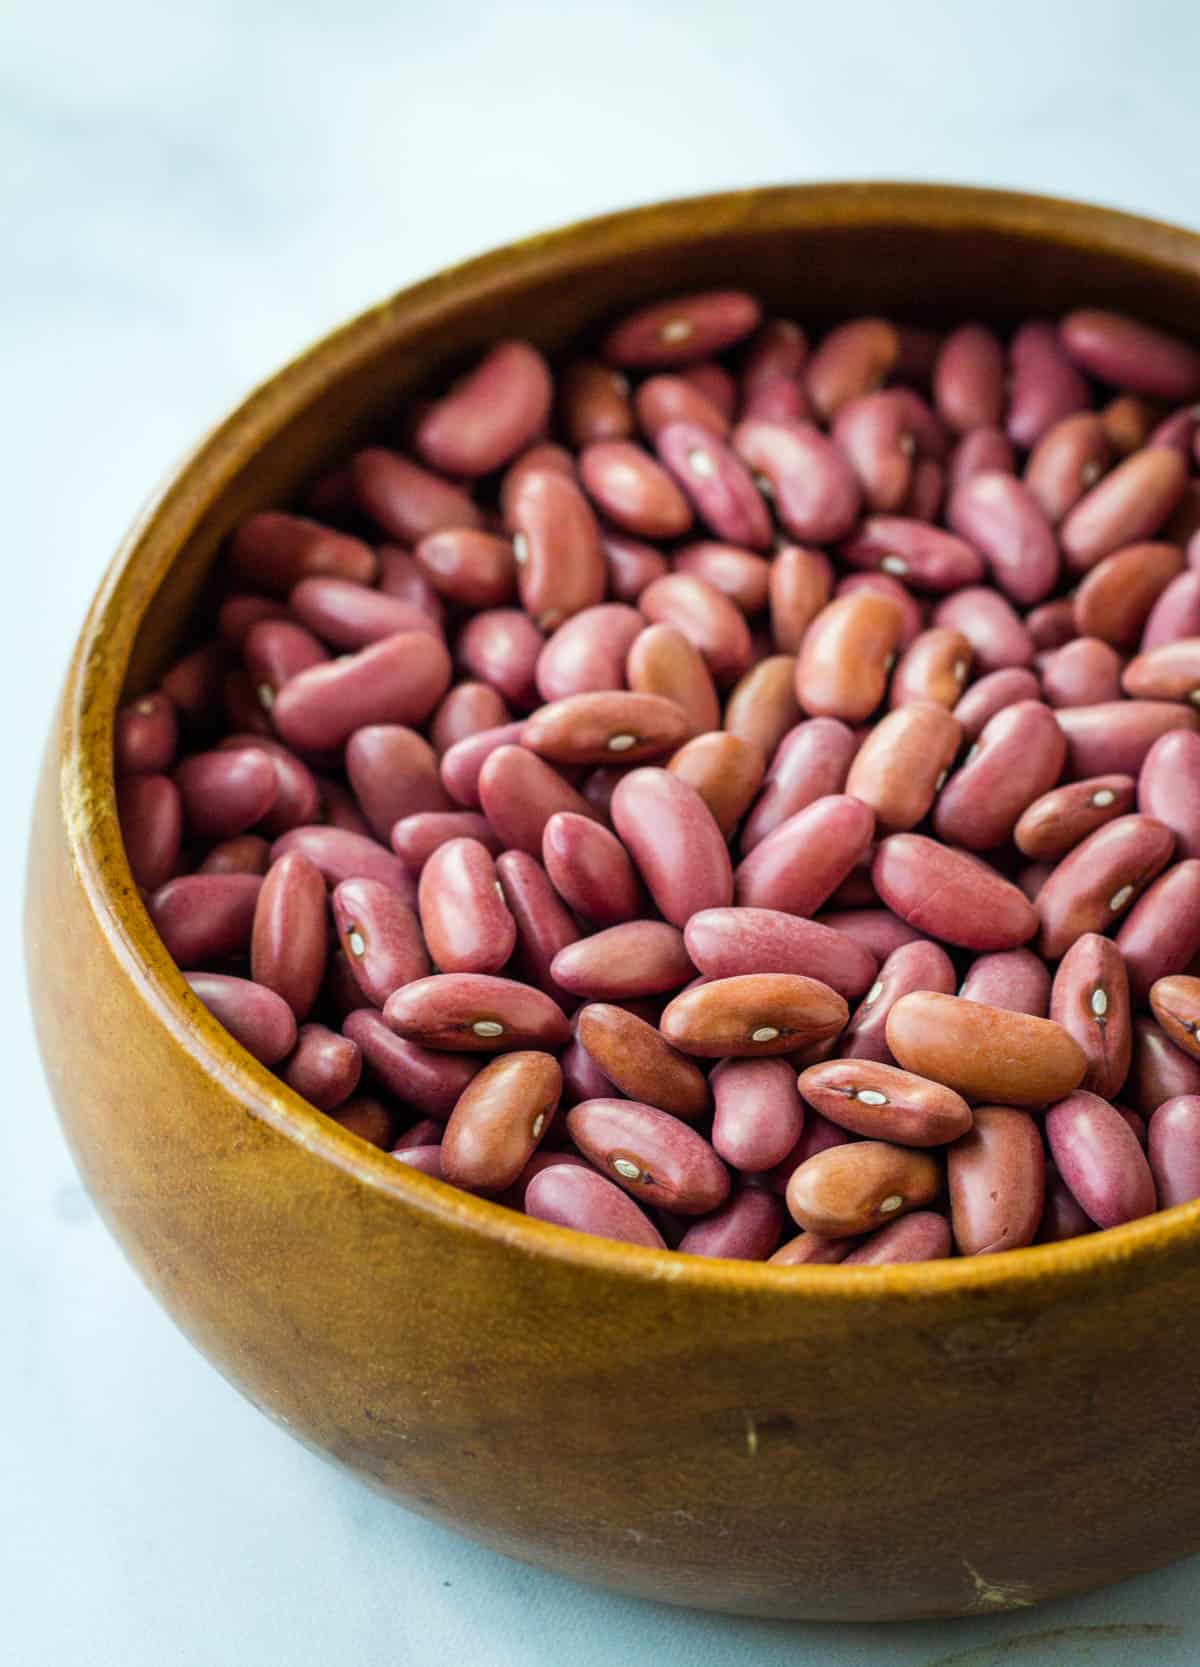
Dried Kidney Beans
Kidney Beans
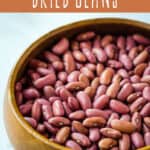
Kidney beans are a red bean that are shaped like a kidney. They are firm in texture and medium sized. They are often used in chili and red beans and rice.
One thing to note is that kidney beans should not be cooked in a slow cooker, unless they are brought to a rapid boil on the stovetop first for at least 10 minutes. This is because they contain high levels of a toxin that is only diminished by boiling the beans.
The same is true to a lesser extent for cannellini beans, which are related to kidney beans.
Kidney Beans Cooking Time for 14 oz of Dried Beans:
- Overnight-1 ½-2 hours
- Quick Soak-1 ½-2 hours
- No Soak- 2-2 ½ hours
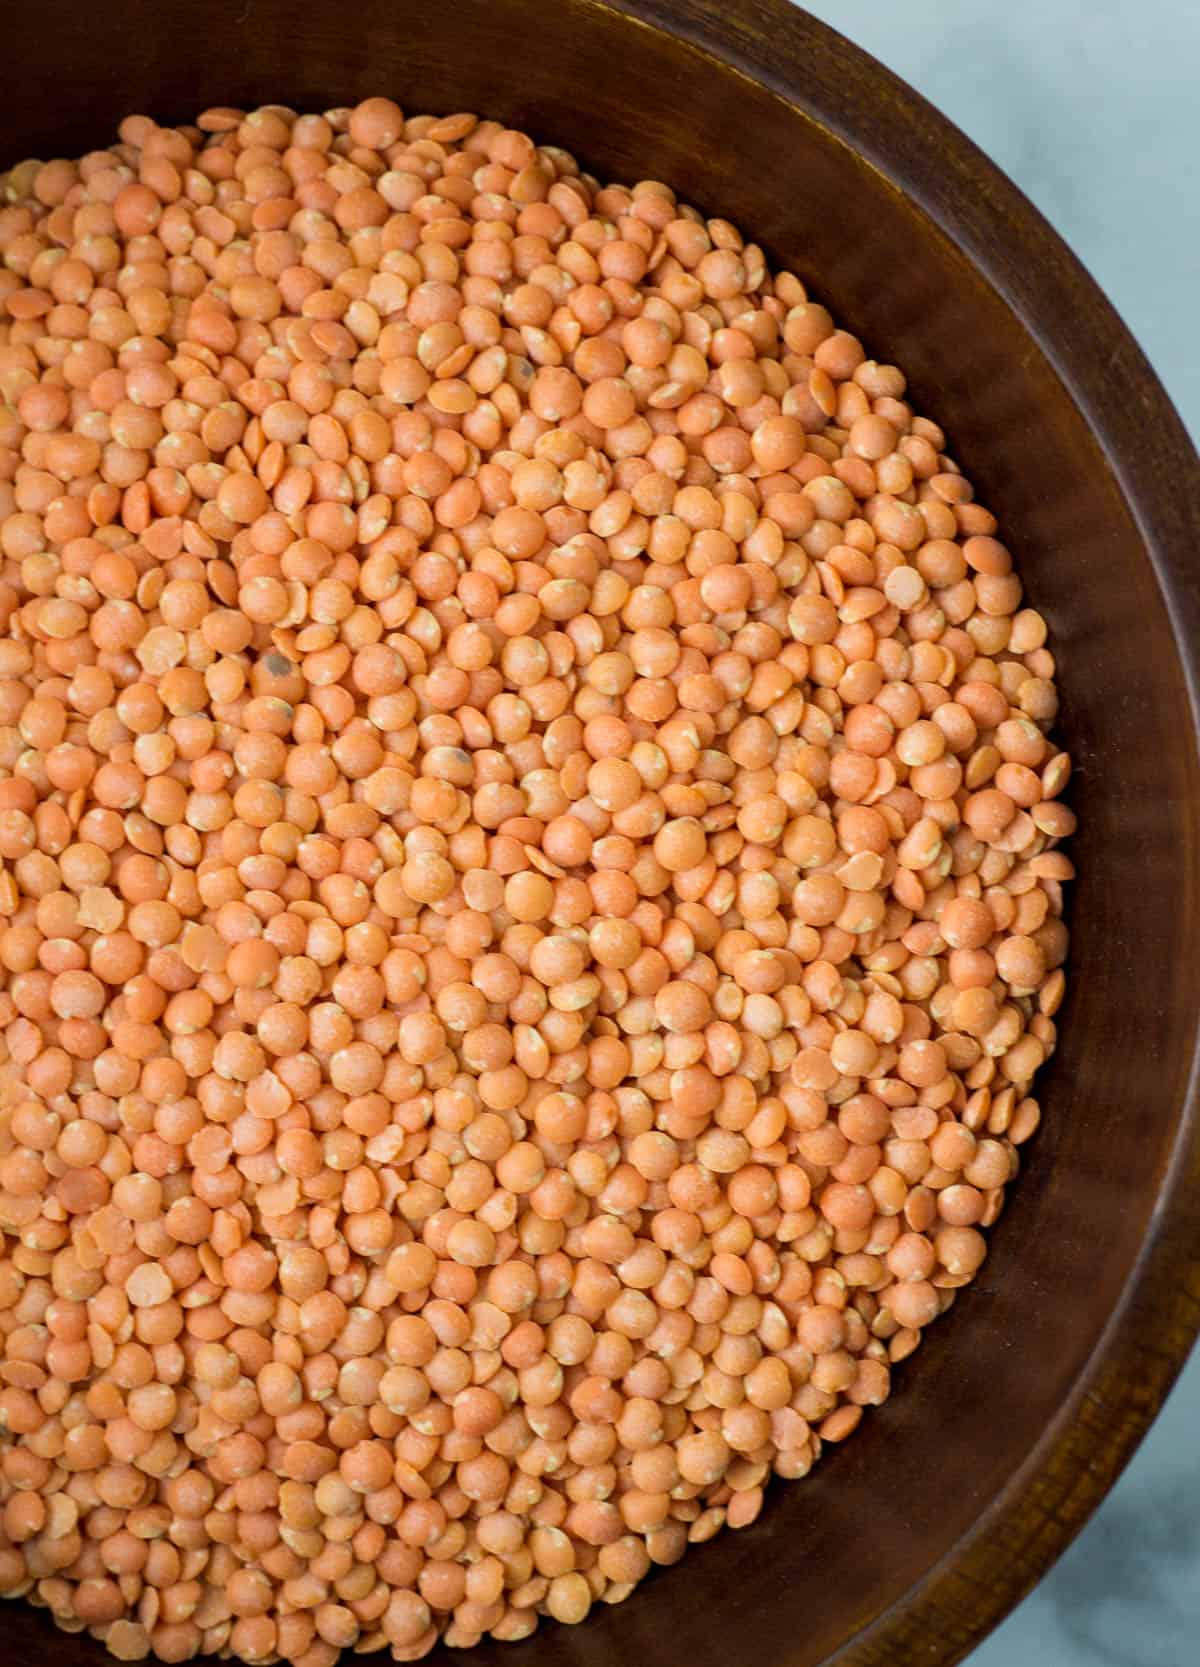
Dried Red Lentils
Lentils
Lentils are a member of the legume family like beans. They come in a variety of colors and textures.
Red and yellow lentils are smaller, cook faster, and have a softer texture. Green, brown, and black lentils are larger in size, have a firmer texture, and take longer to cook.
They are used in soups, Indian dal, and to create vegetarian and vegan dishes like my coconut lentil cauliflower curry.
Lentils Cooking Time for 14 oz:
No Soaking Required
- Red and Yellow Lentils 12-20 minutes
- Green Lentils: 30-40 minutes
- Brown Lentils: 15-20 minutes
- Black Lentils: 20-25 minutes
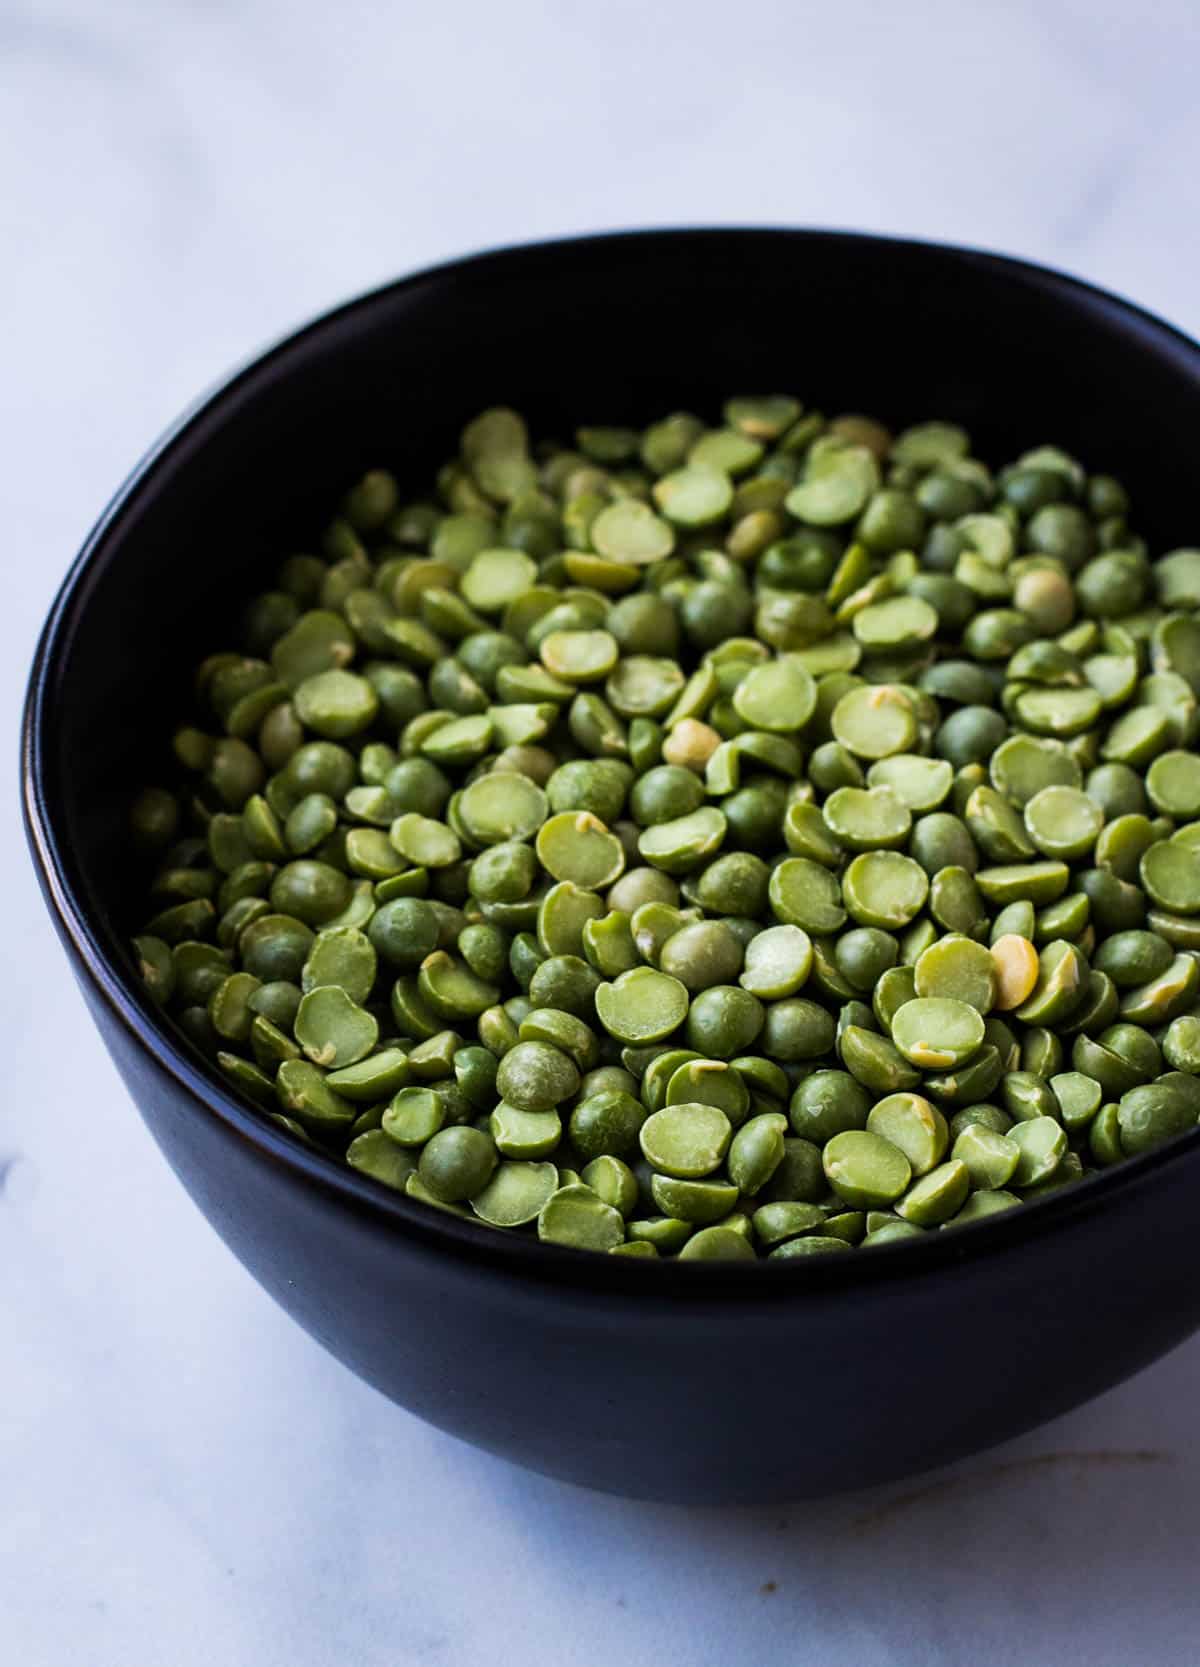
Dried Split Peas
Split Peas
Split peas are also a member of the legume family like beans. They are full of protein and taste great when thrown in soups, and a variety of dishes and salads.
Sweet in flavor, firm in texture, and a versatile legume that is most commonly used in split pea soup.
Split Peas Cooking Time for 14 oz:
No Soaking Required– 20-30 minutes
To Soak or Not To Soak Dried Beans
Depending on who you ask they’ll either tell you to soak your dried beans, quick soak, or not worry about soaking the beans at all.
There are some pros and cons of each method, so I’ll lay them out for you so you can make the best decision based on your time, flavor preference, and digestibility.
Overnight Soak Pros
- Quicker Cooking Time – When the beans are soaked overnight they will need a shorter cooking time the day you cook them.
- Better Digestibility – The difficult to digest sugars in the beans are released into the water making them easier to digest.
- Decreases Antinutrients – Dried legumes contain antinutrients called lectins and phytates which limit the absorption of beneficial nutrients from the beans. Soaking dried beans decreases the level of antinutrients.
- More Even Cooking – When you soak the beans overnight you will more likely get an even cook to the beans without splitting.
Overnight Soak Cons
- Need to Plan Ahead – You’ll need to do a little pre-planning and cover your beans with 3 inches of water the night before you plant to cook them. It isn’t difficult it just takes some forethought.
- Lose Some Nutrients – Since the beans are soaking in water for a longer period of time more of the beneficial nutrients are leeched into the water.
- Mushier Texture – It’s easier for the beans to overcook and become mushy.
Quick Soak Pros
- Less Planning Time Needed – With the quick soak method you don’t need to pre-plan the day before to cook your beans. It will take you only one hour to soak your beans before cooking.
- Better Digestibility than Overnight Soak – Using this method breaks down more of the sugars in beans that makes it difficult to digest.
Quick Soak Cons
- Still Requires Some Planning – While you’ll only need one hour to quick soak, if you’re in a time crunch it will add additional cooking time.
No Soak Pros
- No Pre-Planning – Using this method will allow you to be more spontaneous with your decision to cook beans.
- More Nutrients Intact – Since the beans are not soaking in water overnight more of the nutrients and antioxidants are retained in the beans without leeching into the water.
- Hold Their Shape Better – When you don’t soak your beans they are less likely to split.
No Soak Cons
- Longer Cooking Time – If you don’t soak your beans you will end up needing to cook them longer.
- Less Digestible – Since the beans have not been soaked those sugars that are difficult to digest will be retained within the bean which can make it more difficult for digestion.
- More Antinutrients – Since the beans are not soaked, more of the antinutrients that limit the absorption of beneficial nutrients are retained within the beans.
Cooking Dried Beans: Stovetop, Slow Cooker, and Pressure Cooker Instructions
Just as there are several methods for soaking or not soaking the beans, when it comes to cooking them, there are also several methods you can use.
The stovetop method is the most traditional. The cooking times above are for using the stovetop method. Cooking beans on the stove top is faster than the slow cooker, and longer than the pressure cooker. Choose the method that best meets your needs and time constraints.
If you’re in a hurry and need beans fast, the pressure cooker is a great option.
If you want to throw your beans in the slow cooker in the morning and get on with the rest of your day, the slow cooker is a great choice.
However, if you don’t have a slow cooker or pressure cooker, and want to go the traditional route, cooking them on the stovetop is the way to go!
Note: All directions below are for using one pound of dried pinto beans that have been soaked. Use the cooking times listed above if you are using a different variety of bean or are not soaking.
How to Cook Dried Beans on the Stovetop (Pinto Bean Instructions)
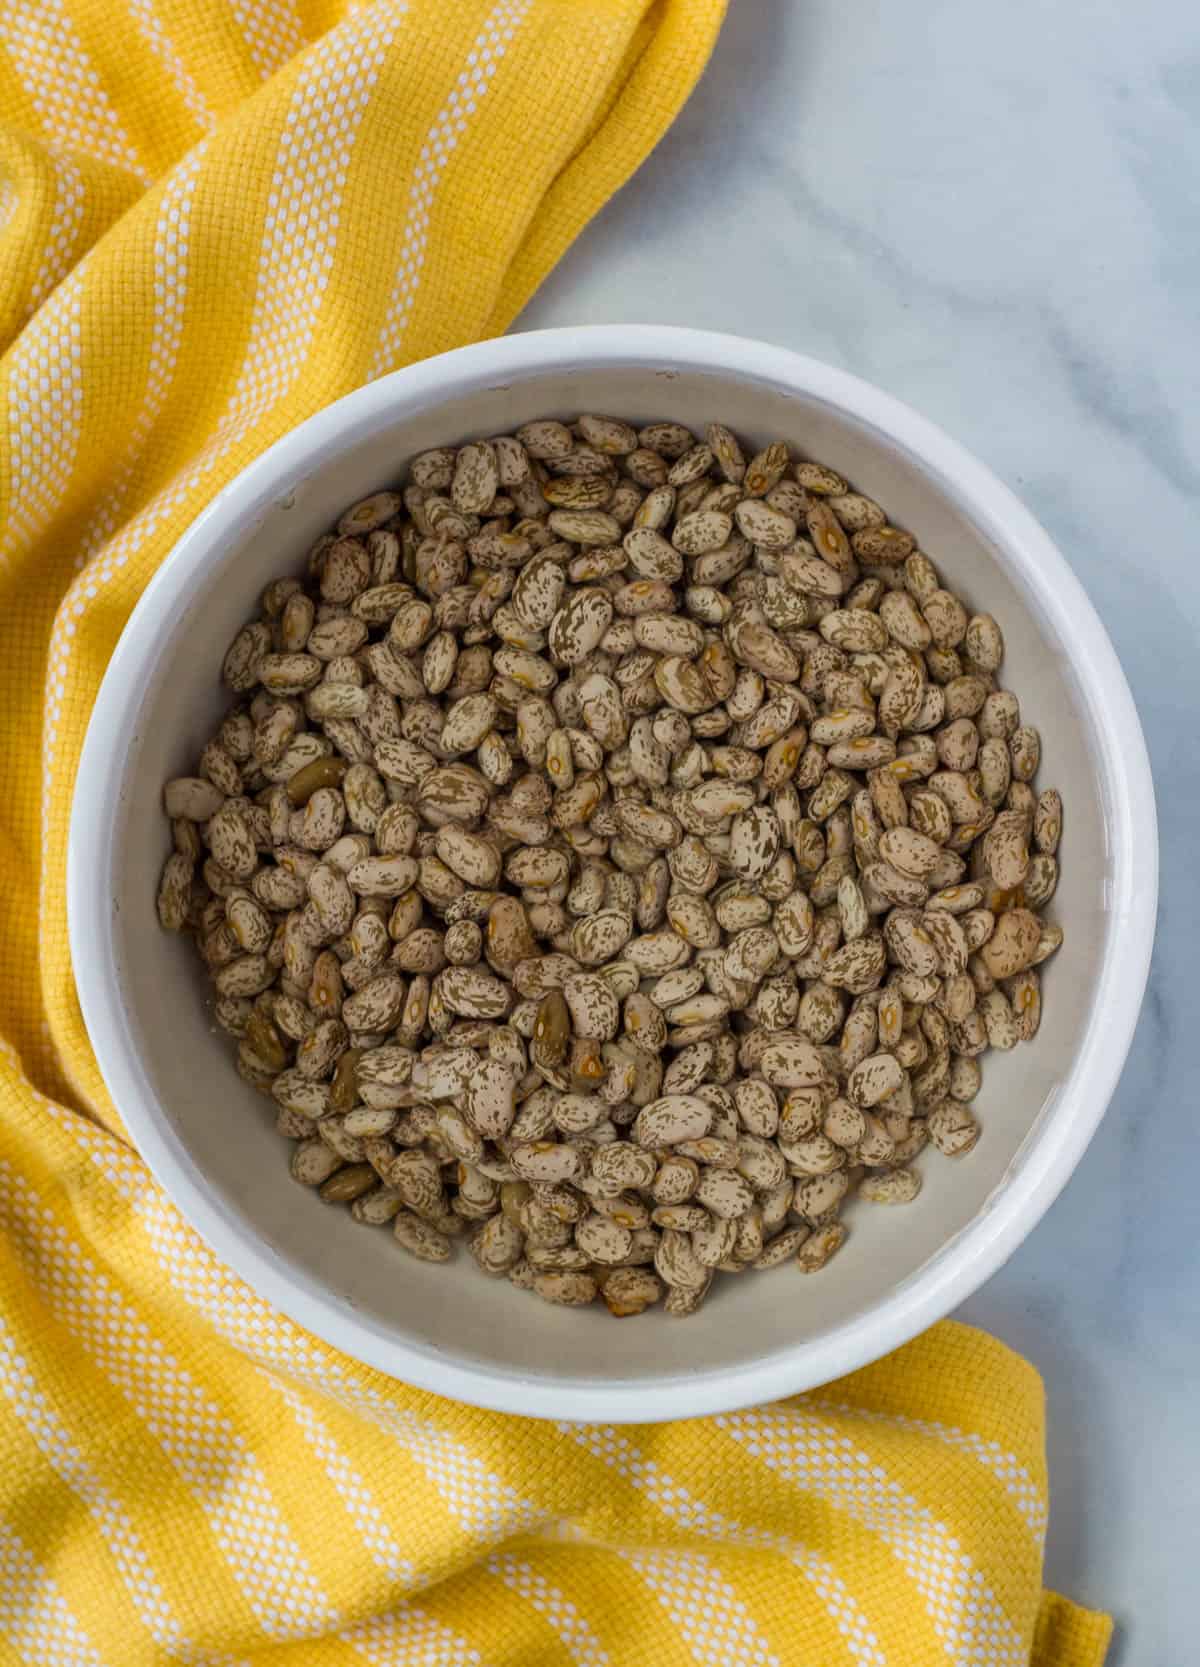
Step 1: Rinse and sort beans in a large pot.
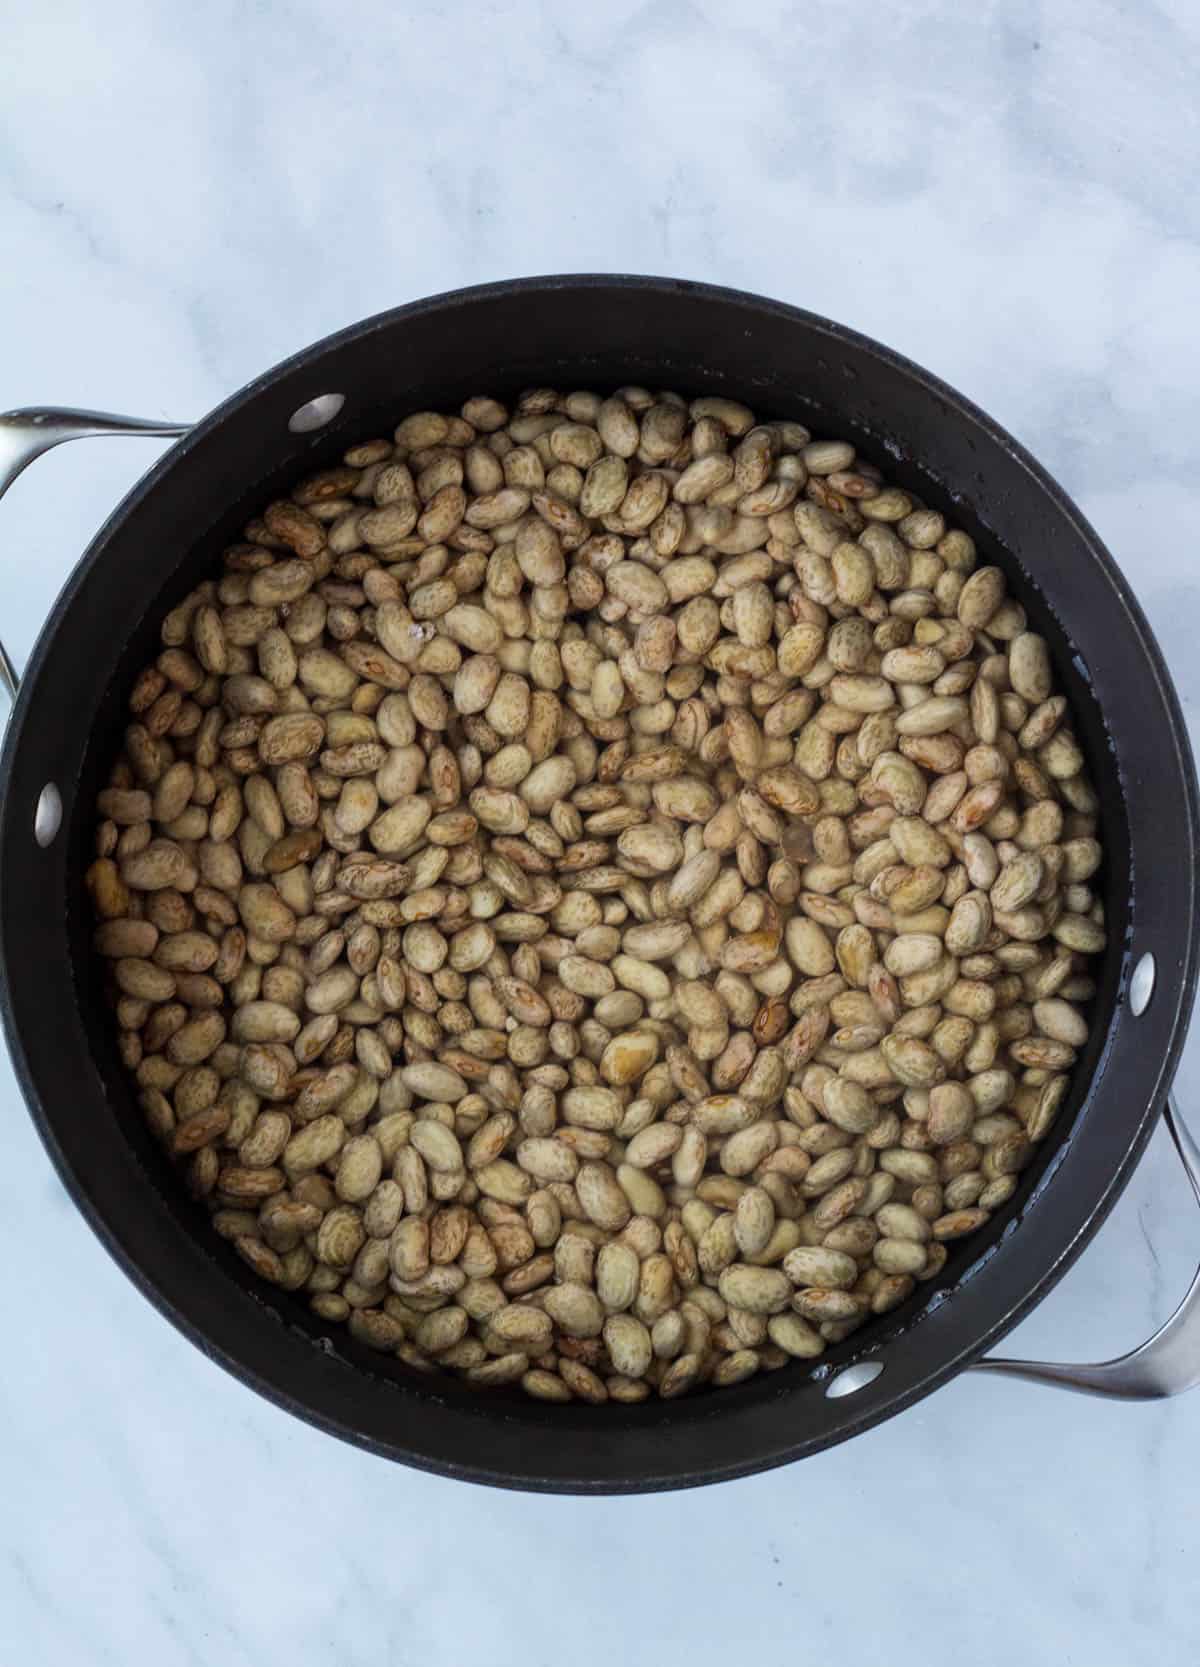
Step 2: Overnight soak or quick soak beans. To soak beans overnight, cover beans with 3 inches of cold water. Let stand overnight or for a minimum of 8 hours. Drain and rinse beans. To quick soak beans, cover with 3 inches of water in a large pot. Bring to a boil, boil for 2 minutes. Remove from heat. Cover and let stand for 1 hour. Drain and rinse beans.
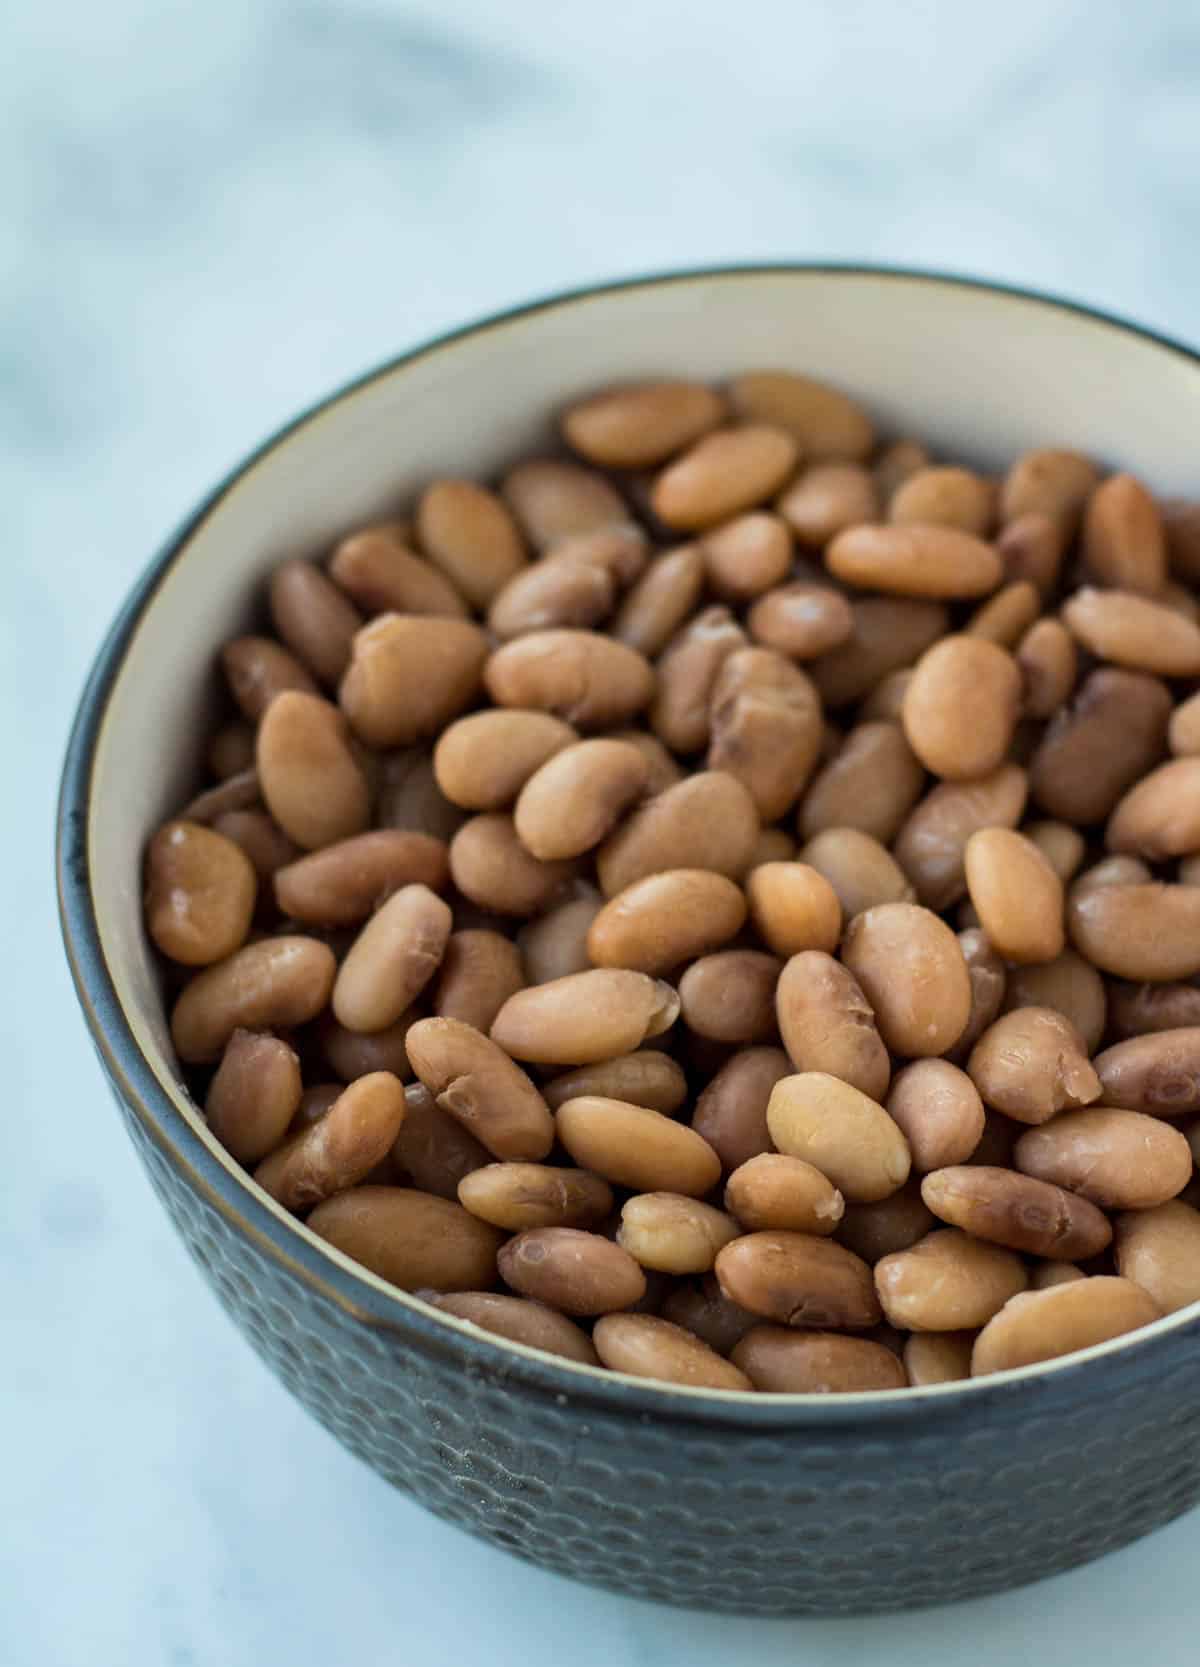
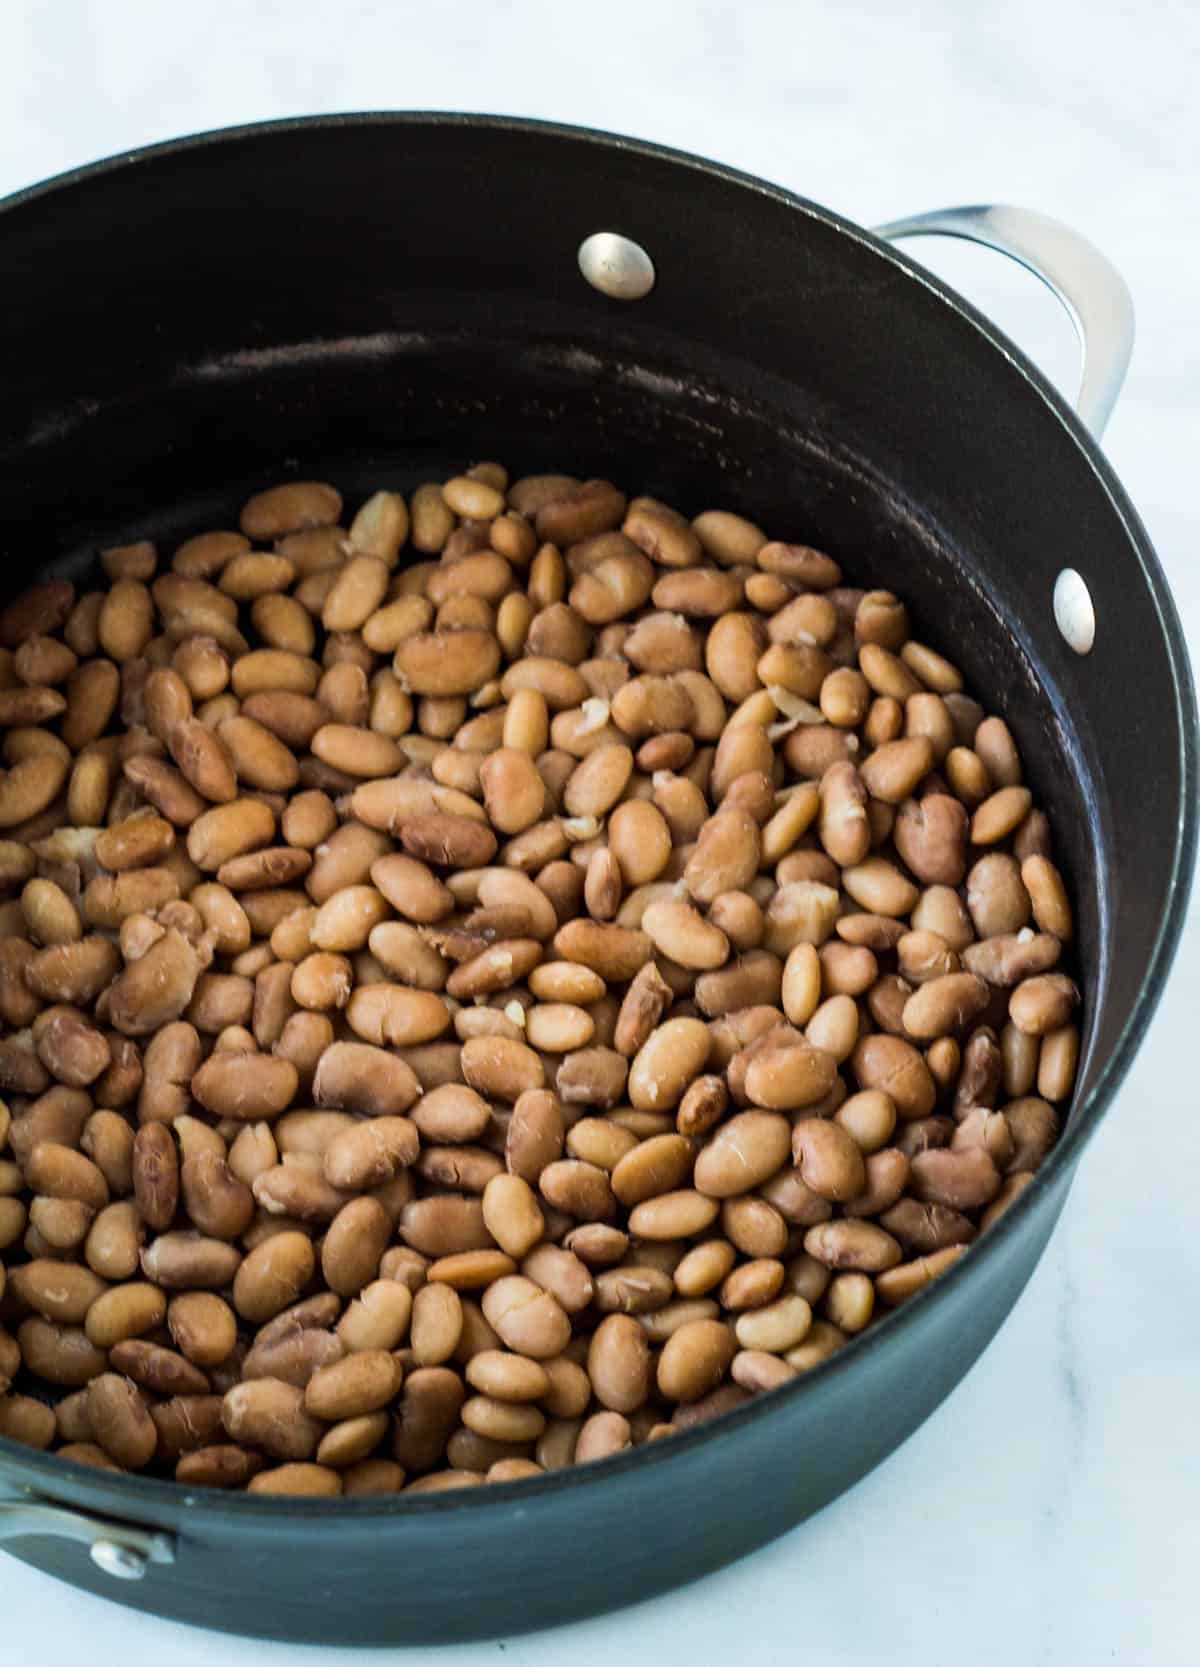
Step 3: Add soaked beans to a large pot. Cover with 2 inches of water. Bring to a boil. Reduce heat to a simmer. Simmer on low with lid slightly ajar until desired tenderness is reaches, about 1 ½-2 hours.
How to Cook Dried Beans in a Slow Cooker (Pinto Bean Instructions)
Step 1: Rinse and sort beans. Removing any stones or discolored beans.
Step 2: Soak beans using the overnight or quick soak method mentioned above.
Step 3: Add beans to the slow cooker, and cover with 2 inches of water. Add 1 tsp of salt. This helps keep the beans intact during the cooking process.
Step 4: Cook on low for 6-8 hours. Check beans after 5 hours, and every 30 minutes after to be sure not to overcook the beans. Beans should be soft and creamy, yet firm and intact.
How to Cook Dried Beans in a Pressure Cooker or Instant Pot (Pinto Bean Instructions)
Step 1: Rinse and sort beans. Removing any stones or discolored beans.
Step 2: If you have time soak the beans overnight, or do a quick soak. The beans will be creamier and more intact. However, if you don’t have time to pre-soak your beans, you can mimic an overnight soak with the pressure cooker. Add the beans to the electric pressure cooker and cover with 6 cups of water. Bring to a boil using the sauté function on high. When it reaches a boil, seal the lid and cook for 1 minute on high pressure. After 1 minute, slowly release the pressure manually. Do this carefully to avoid foam spurting through the valve. Release the lid.
Step 3: Drain and rinse the beans with cool water. Return beans to pressure cooker. Add 8 cups of water and any seasoning you choose. Secure the lid, and set to high for 8 minutes (for pinto beans, other beans will vary in time).
Step 4: When time is up, turn off the heat. Allow the beans to cool and release pressure naturally. When all pressure has been released (consult your manual) unlock the lid and serve!
How to Cook Dried Beans
Instructions
- Rinse and sort beans in a large pot.
- Overnight soak or quick soak beans. To soak beans overnight, cover beans with 3 inches of cold water. Let stand overnight or for a minimum of 8 hours. Drain and rinse beans. To quick soak beans, cover with 3 inches of water in a large pot. Bring to a boil, boil for 2 minutes. Remove from heat. Cover and let stand for 1 hour. Drain and rinse beans.
- Add soaked beans to a large pot. Cover with 2 inches of water. Bring to a boil. Reduce heat to a simmer. Simmer on low with lid slightly ajar until desired tenderness is reaches, about 1 ½-2 hours.
Notes
- Rinse and sort beans. Removing any stones or discolored beans.
- Soak beans using the overnight or quick soak method mentioned above.
- Add beans to the slow cooker, and cover with 2 inches of water. Add 1 tsp of salt. This helps keep the beans intact during the cooking process.
- Cook on low for 6-8 hours. Check beans after 5 hours, and every 30 minutes after to be sure not to overcook the beans. Beans should be soft and creamy, yet firm and intact.
- Rinse and sort beans. Removing any stones or discolored beans.
- If you have time soak the beans overnight, or do a quick soak. The beans will be creamier and more intact. However, if you don’t have time to pre-soak your beans, you can mimic an overnight soak with the pressure cooker. Add the beans to the electric pressure cooker and cover with 6 cups of water. Bring to a boil using the sauté function on high. When it reaches a boil, seal the lid and cook for 1 minute on high pressure. After 1 minute, slowly release the pressure manually. Do this carefully to avoid foam spurting through the valve. Release the lid.
- Drain and rinse the beans with cool water. Return beans to pressure cooker. Add 8 cups of water and any seasoning you choose. Secure the lid, and set to high for 8 minutes (for pinto beans, other beans will vary in time).
- When time is up, turn off the heat. Allow the beans to cool and release pressure naturally. When all pressure has been released (consult your manual) unlock the lid and serve!







What a wonderful resource for beginners. Thank you for the time and attention you took to put this guide together.
You’re welcome, Marcy. I’m glad you found it helpful!