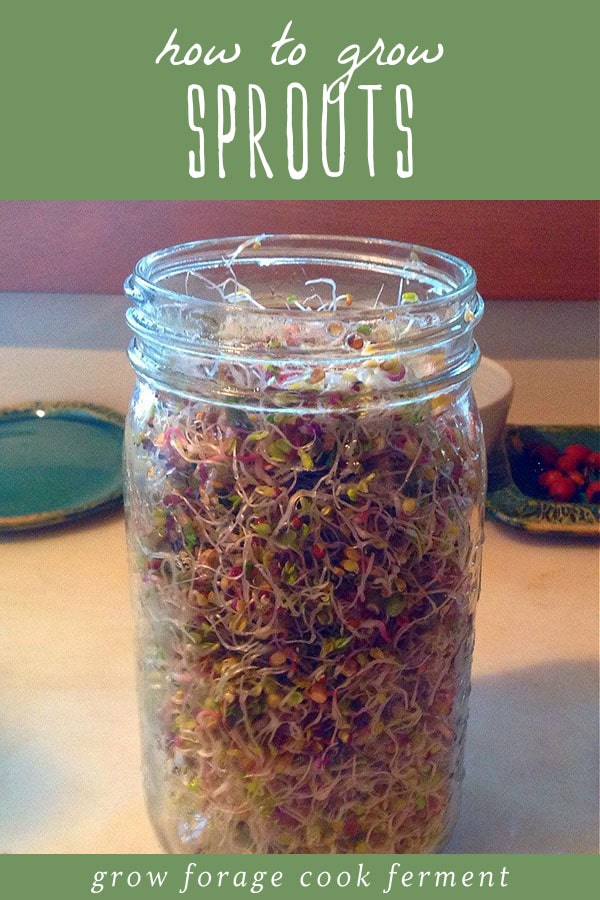
When there’s not a lot of fresh produce coming out of your garden in these colder months, it’s time to grow right in your own kitchen! Today I’m going to show you how to grow sprouts, the ultimate hippie food for good reason with their extremely high nutritional content.
Where to Buy Seeds for Sprouting
Pretty awesome, right? Now, where to get those seeds. Well first and foremost, I can’t talk about sprouting without mentioning Sprout People. Their website is very informational (it’s where I learned many years ago) and you can buy everything from seeds to special sprouters there. I don’t really think that special sprouters are necessary, but that being said, I do own the Easy Sprout and love it, and you can’t beat that cool looking 70’s box. A quart jar works just fine, though. Amazon also sells sprouting seeds, this mix is similar to what I’m using here and will last forever.
How to Grow Sprouts
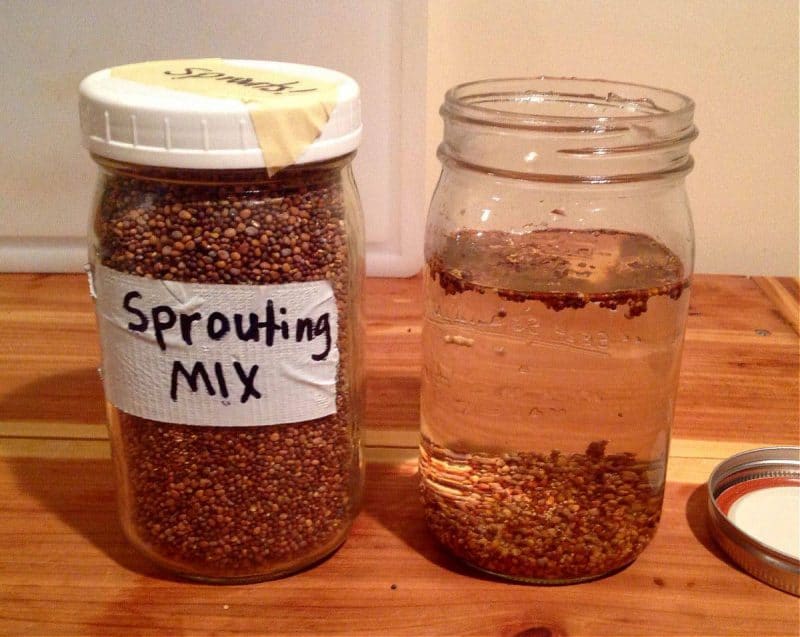
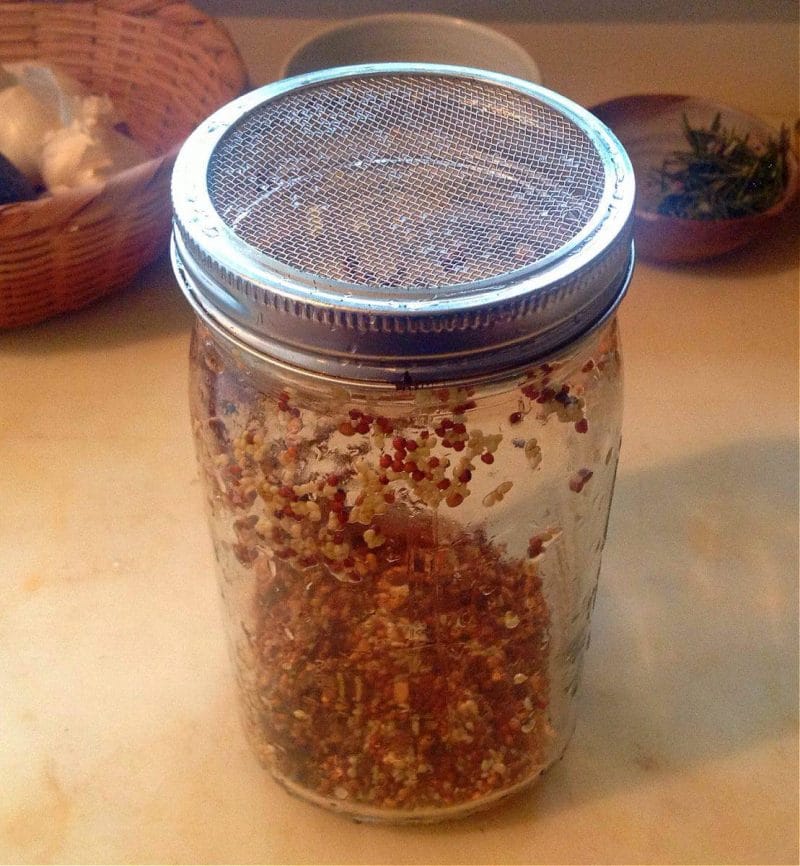
The first thing you’re going to want to do is soak your seeds overnight, which wakes them up so that they want to grow. In the evening, put about 3 or 4 tablespoons (no more!) of seeds in your quart jar. I am using a mix of clover, broccoli and radish, which is generally my favorite mix. Fill the jar with cool water and let it sit on your counter for 8-12 hours.
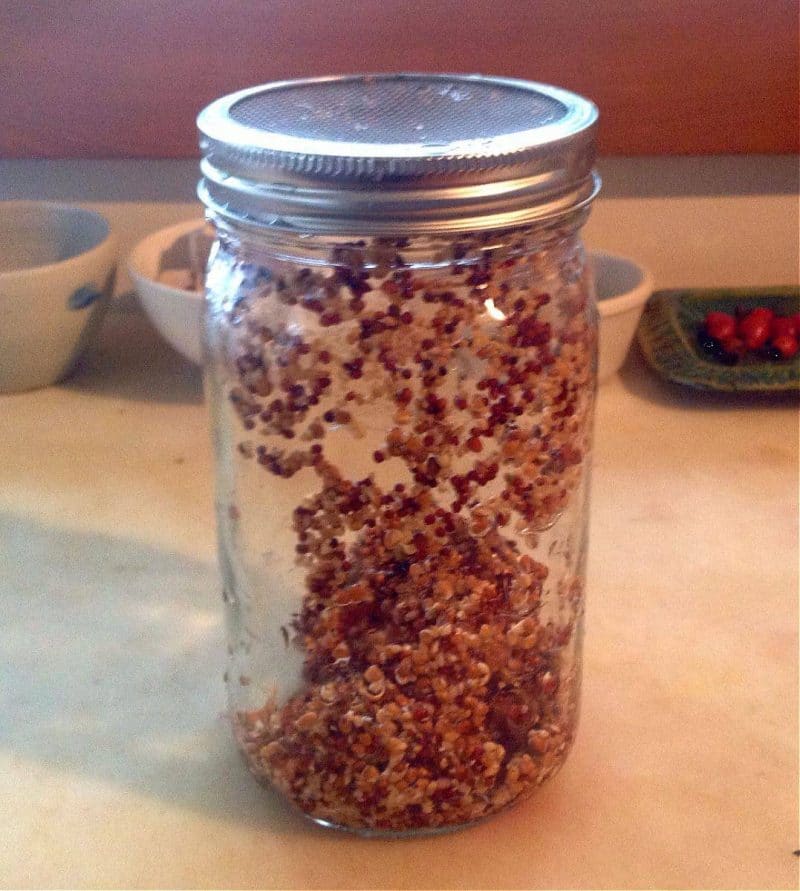
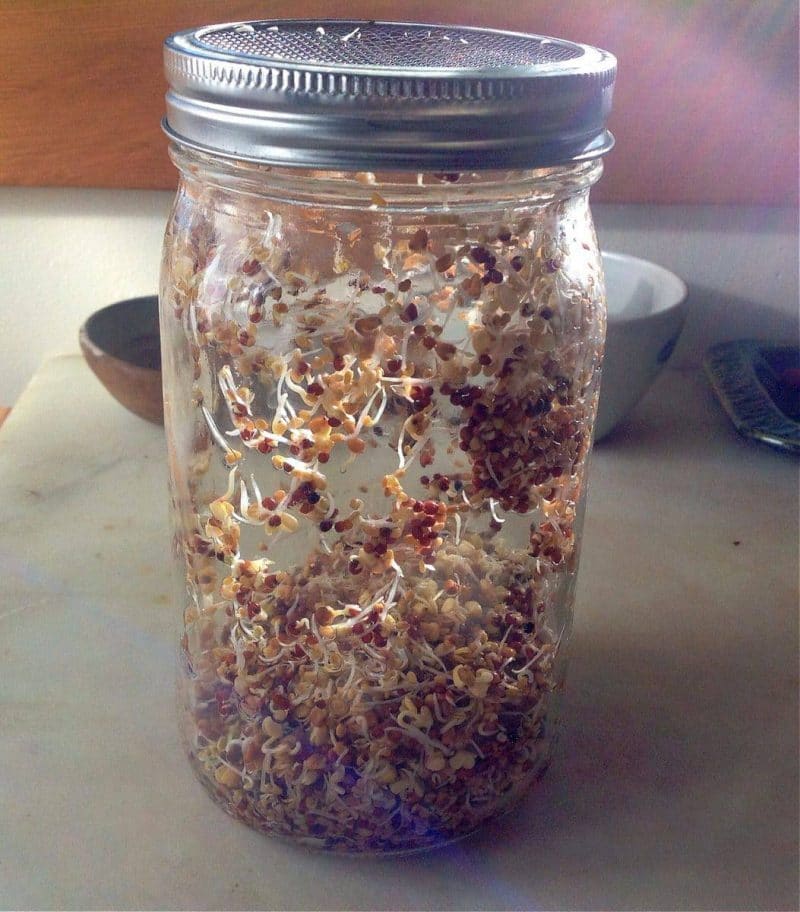
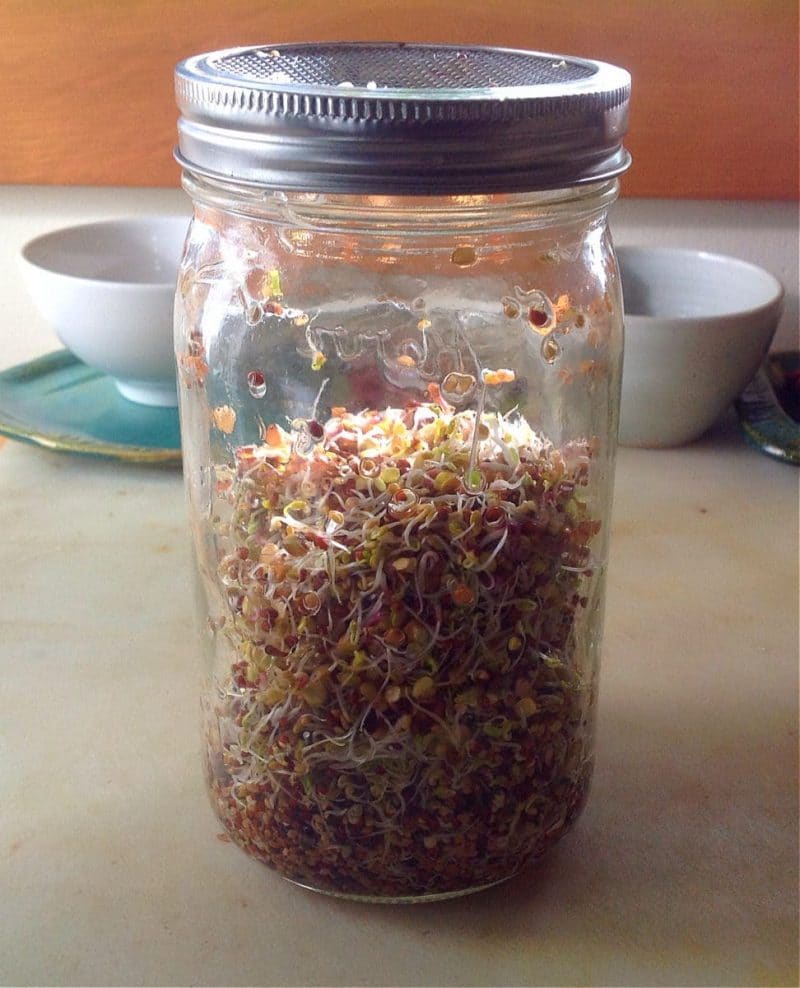
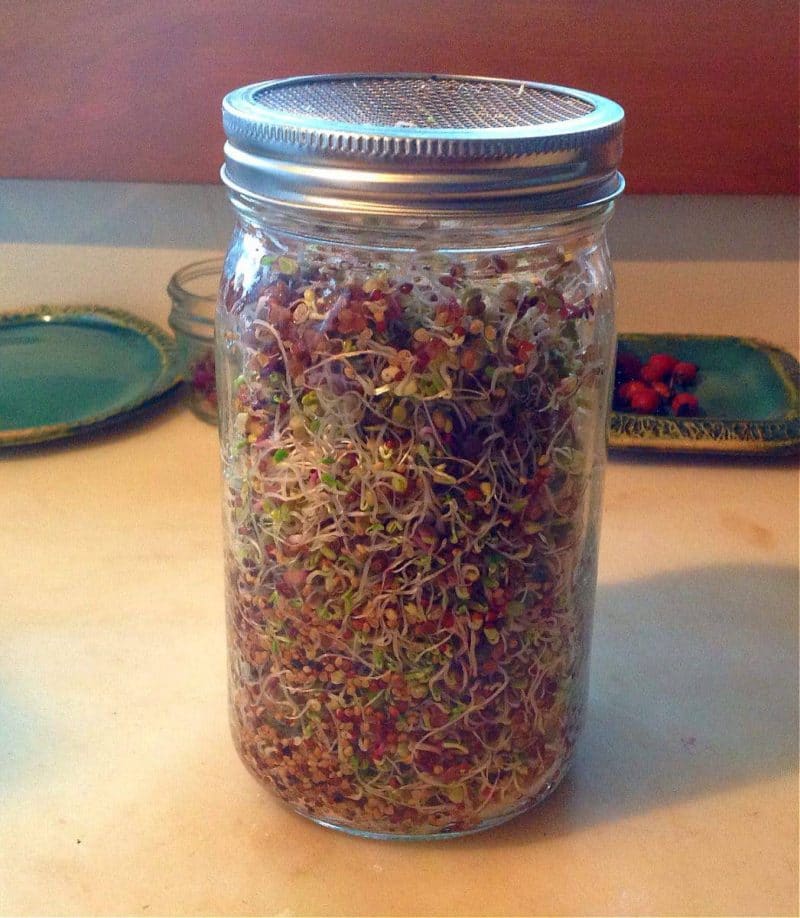
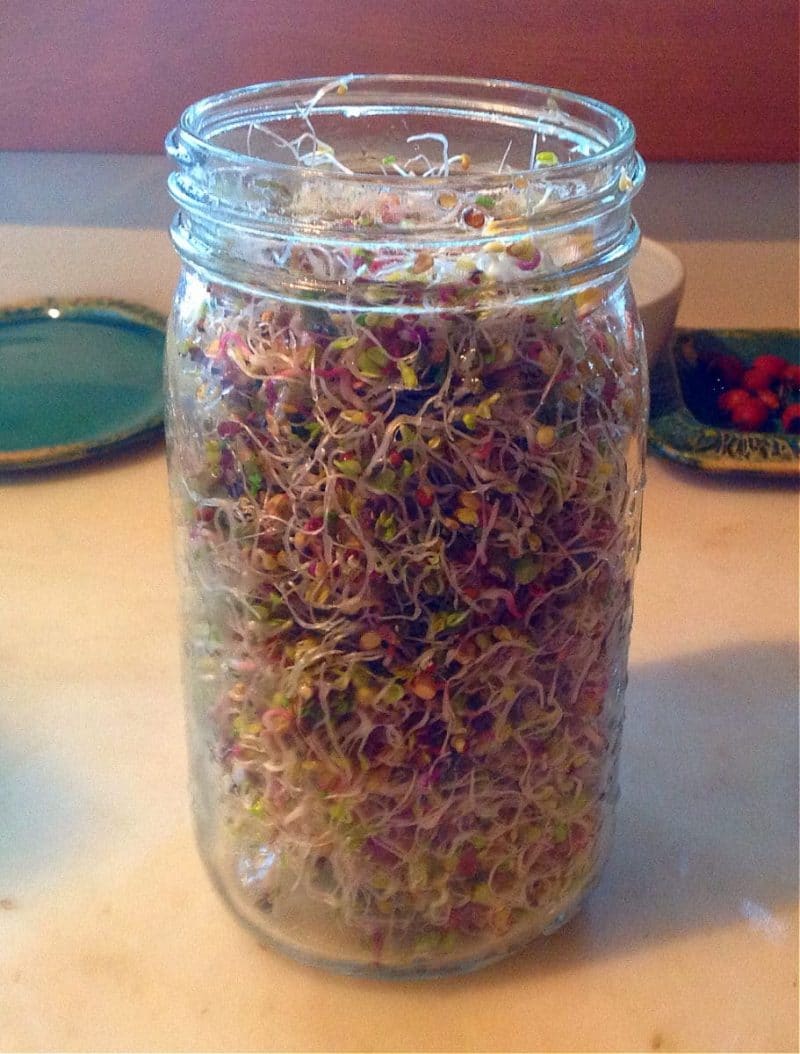
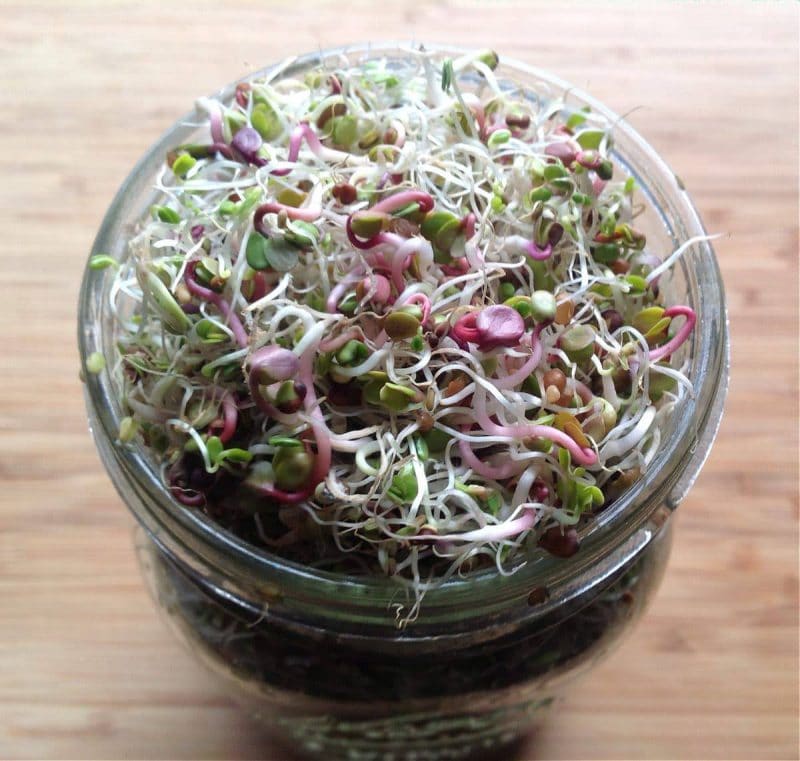
Before dehulling
Whoa, now there’s a jar of sprouts!!! From only 3 Tbsp of seeds! When they get to this point you can see that most of the seed hulls have fallen off and are just kinda hangin’ out in the jar. It doesn’t really hurt you to eat them, but it doesn’t really do anything for you either. When I first started sprouting I left them in, but learned pretty quickly that’s they’re easy to remove and it really makes your sprout eating experience better without them. So, go ahead and dump the sprouts into a bowl and fill it with water.
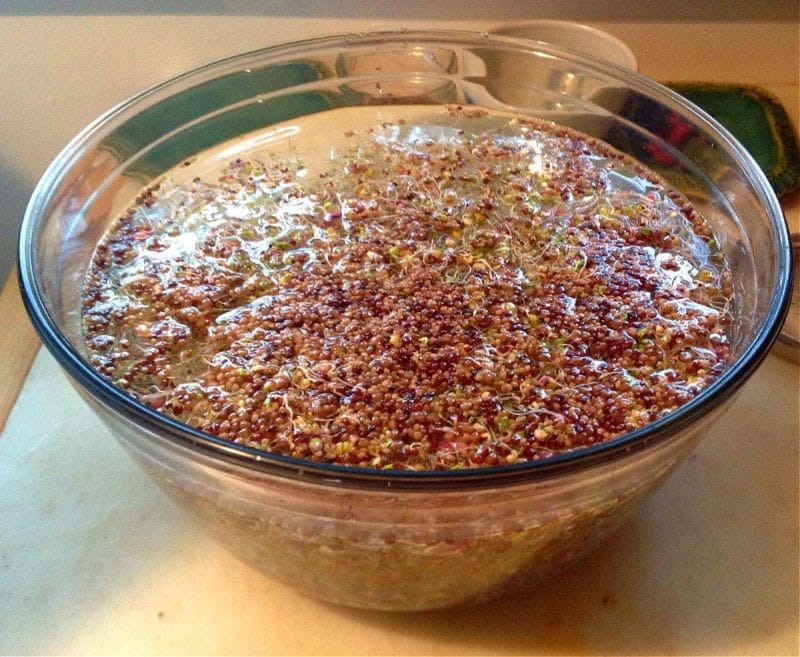
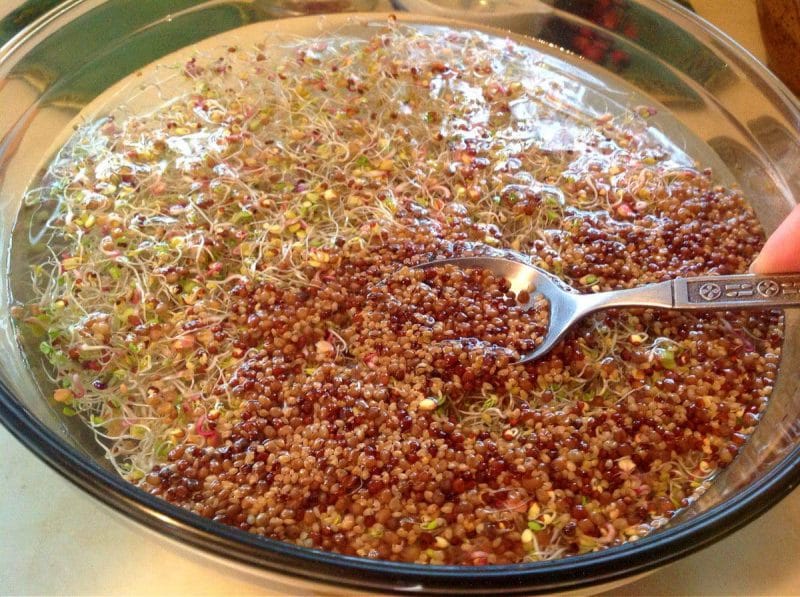
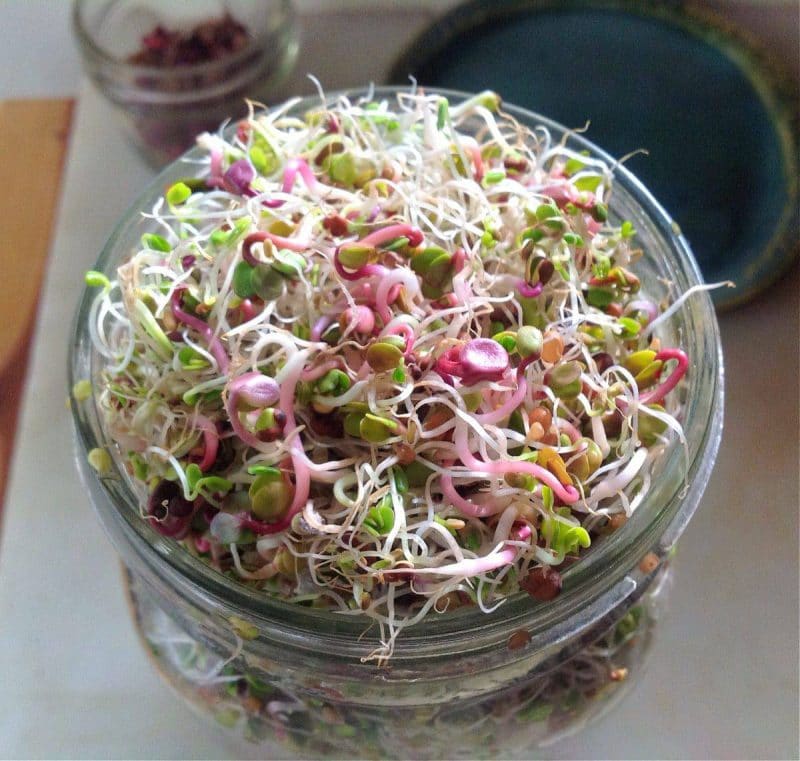
After dehulling
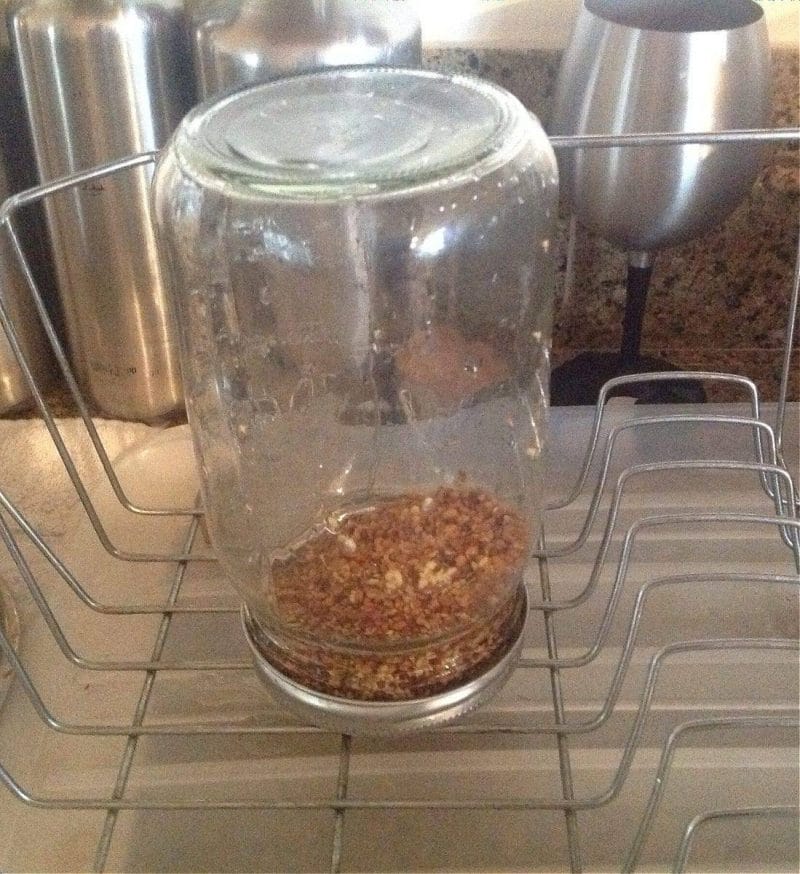
Try to put your draining sprouts in a bright spot this time, as much light as possible without direct sunlight. This will green them up. Let them sit there for about 24 hours without rinsing to really dry out as much as possible. Then they’re done! It’s as easy as that!
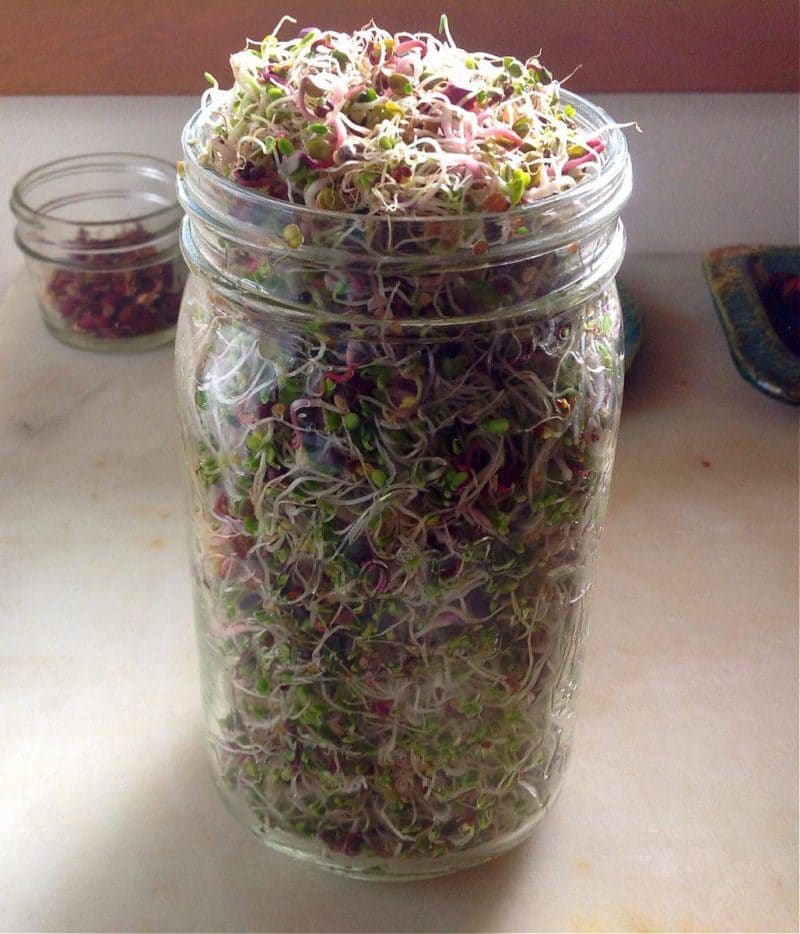
These sprouts sure would be tasty on a sandwich made with leftover Lemon Herb Roasted Chicken, sprinkled over a Sourdough Pizza fresh out of the oven, or tossed in a salad and dressed with Balsamic Vinaigrette!
Looking for more greens you can grow over the winter? There are some great herbs to grow indoors! It’s always nice to see that splash of green when everything seems grey or white out the window. Plus fresh herbs always taste better when you’re cooking don’t you think?



I’m in Australia and to buy sprouting seeds costs a fortune
Thank you so much for sharing. We love sprouts and had no idea it was that easy. Where do we get the seed mixtures.?
Love this post, Colleen! The you shines through! I would be excited about watching sprouts grow, too!
Great post! Nice to have some seeds sprouting in the middle of winter! Thank you for sharing your post on the HomeAcre Hop, hope to see you again tomorrow! As one of the co-hosts I’m going to feature your post tomorrow!
– Nancy
On The Home Front
Oh, thank you so much! Glad that you like it!
This is fantastic! I’ve always worried about getting sprouts from the grocery store because 1. they look nasty in the bag 2. my mom used to say they could get you really sick (bean sprouts too…she would wash them a million times). What is it that generally causes illnesses from sprouts? Is it the water they use, the inability to wash them clean, or the mold that growers may permit the sprouts to grow in?
Yeah, they’re never as good from the regular grocery store. I think the main cause of illness is that in a big growing operation they’re more likely to get E Coli and other nastiness that breeds in warm environments. When you’re growing them yourself you are washing them twice a day, breaking up the sprout mass, and hopefully have decently clean hands, so it’s much safer.
This is amazing, Colleen! You should have your own tv show!
I’m too shy for that!